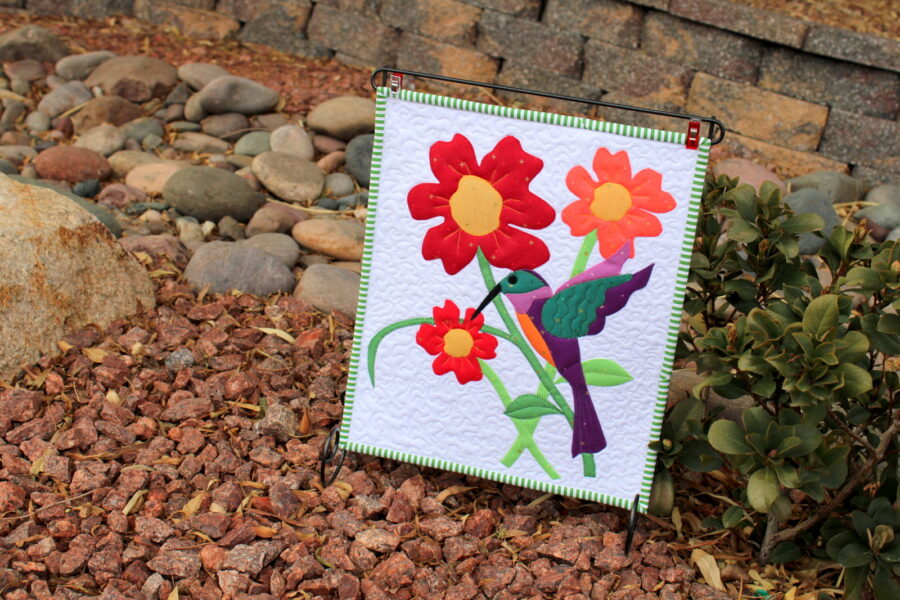
Enough of all the cold and snowy weather...bring on the spring sunshine! It's time for some warmth, flowers, and hummingbirds. This little mini quilt will surely add some cheer to the beginning of spring. check out ThermOWeb's blog for this and other fun spring projects!
12" x 14" mini quilt
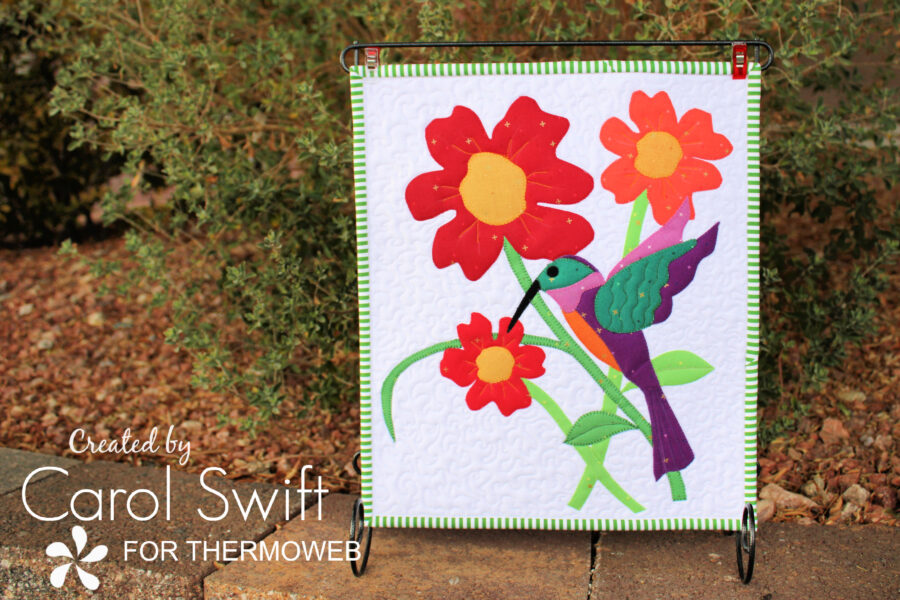
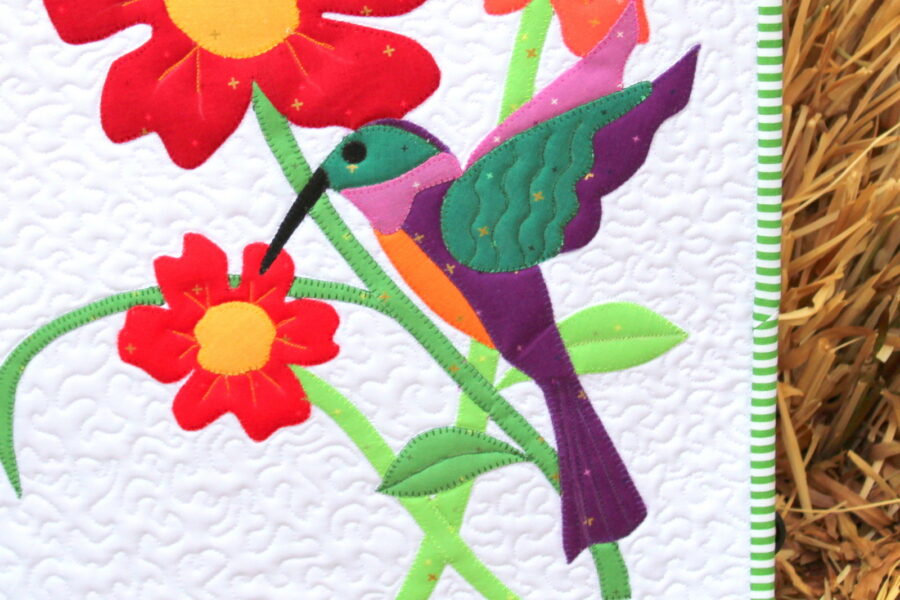
Did you know that hummingbirds symbolize lightness and joy, and are often thought of as magical beings that assist in a life's journey or deliver messages from loved ones who have passed? I think they are mostly brave and beautiful creatures that dash about with great speed and are meant to make us smile.
Heat n Bond Lite EZ Print Sheets makes copying your applique designs so easy.
Just run the printable sheets through your inkjet printer...no tracing with a pencil!
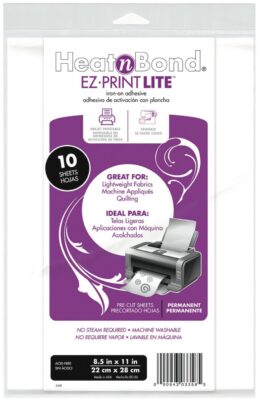
Step 1: Trace applique designs on smooth side of Heat n Bond Lite Iron-on Adhesive or use Heat n Bond Lite EZ Print Sheets. Be sure to write the letter of piece on traced designs. Designs are reversed so they will be the correct direction when ironed on fabrics.
Step 2: Cut around traced applique designs leaving at least a quarter inch from solid line. Hint: Writing the desired fabric color on the paper applique piece can avoid confusion when ironing to fabric. Iron applique designs (rough side down) to wrong side of fabrics following package directions. Let cool.
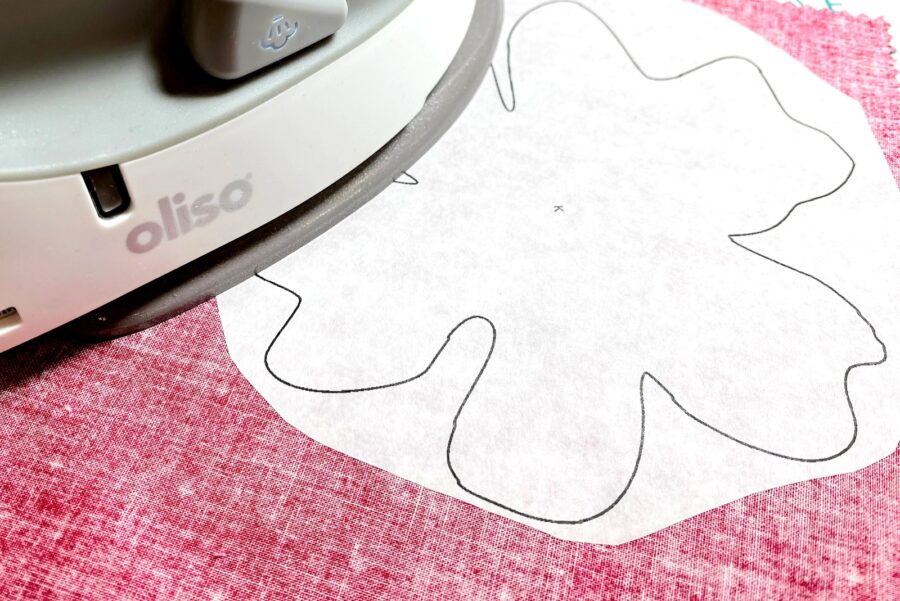
Step 3: Follow package directions, iron Heat n Bond Light Weight Non-Woven Interfacing to wrong side of 13 ½” x 15 ½” fabric rectangle. *Applique Tip: Ironing lightweight interfacing to the wrong side of fabric used in applique blocks can add stability and make stitching small pieces easier.
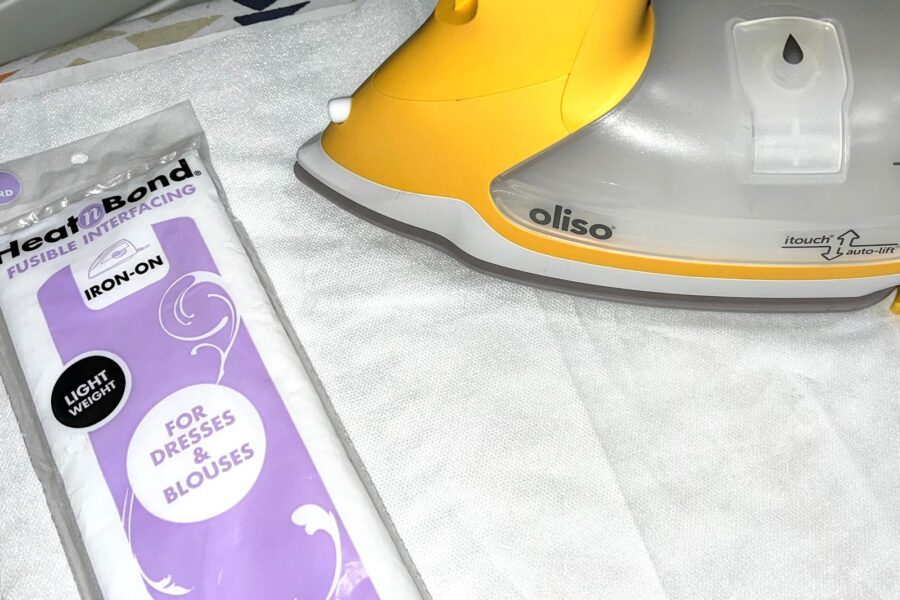
Step 4: Cut out applique pieces on solid lines. Peel off paper liner from the backs of applique pieces. Follow design keys for correct placement. Place applique, adhesive side down, on right side of fabric. Press according to package directions until entire piece is bonded. Let cool.
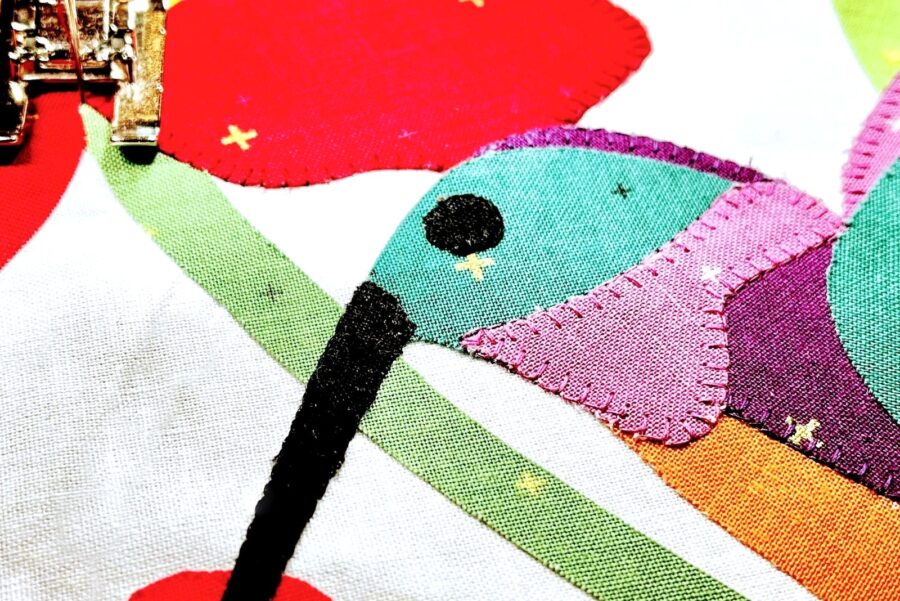
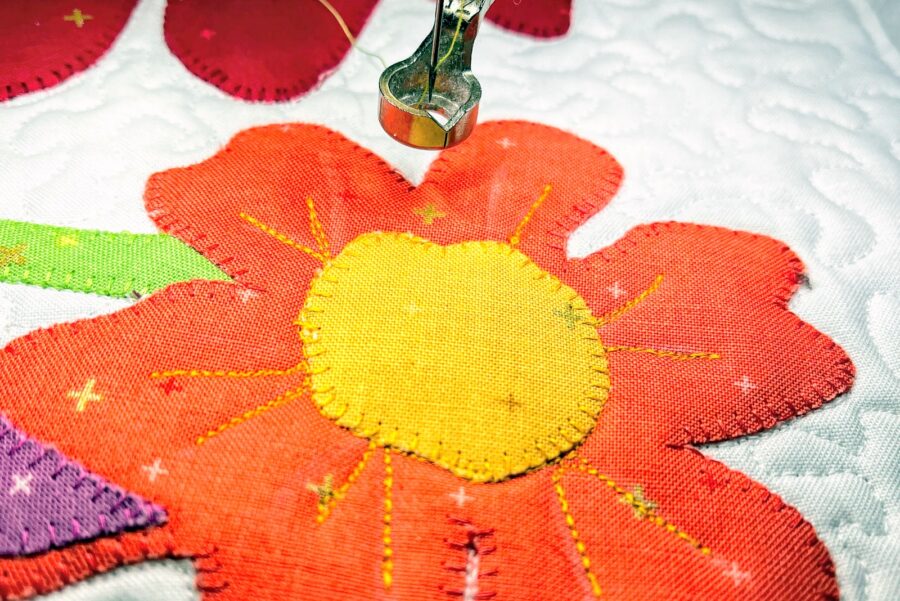
Step 5: Sew around edges using a straight, zig-zag, or blanket stitch.
Step 6: Assemble mini quilt - Protect the area where you will be working by placing an old sheet or paper under and around the area you’ll be spraying. Place the fleece on work area, smoothing to remove wrinkles. Place the wall hanging front, wrong side down, on top of fleece. Smooth to remove wrinkles.
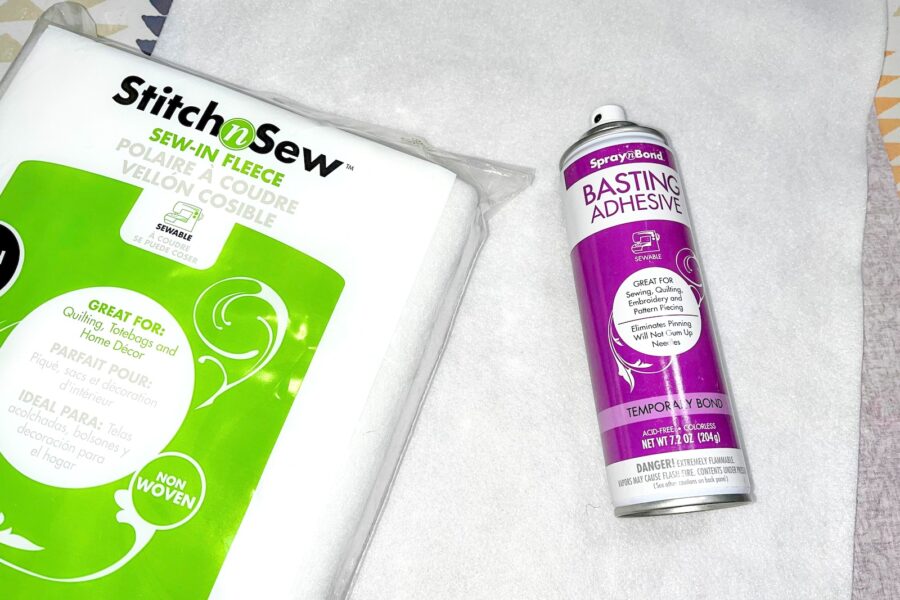
Roll back three or four inches of the front to expose some of the fleece and the wrong side of the quilt front. Using the Spray n Bond Basting Adhesive, lightly spray fleece from one edge to the other. Carefully roll the front over the fleece. Smooth fabric to ensure it adheres to the sprayed fleece and remove any wrinkles. Continue spraying and smoothing a few inches at a time. Check for creases or folds you might have missed. Repeat process with quilt back. Let dry.
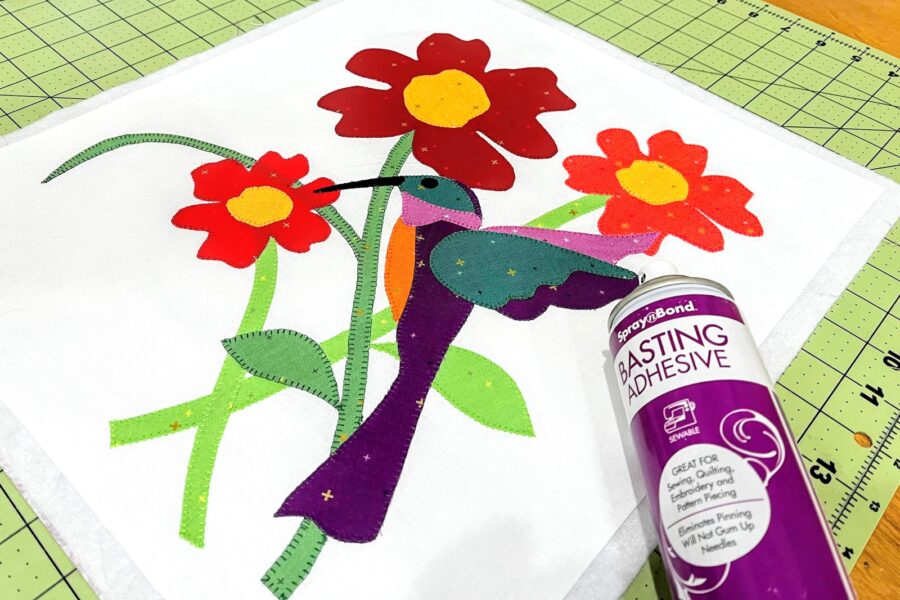
Step 7: Quilt the front wall hanging and fleece using your favorite quilting method. Add any decorative stitches using hand or machine embroidery/stitching.
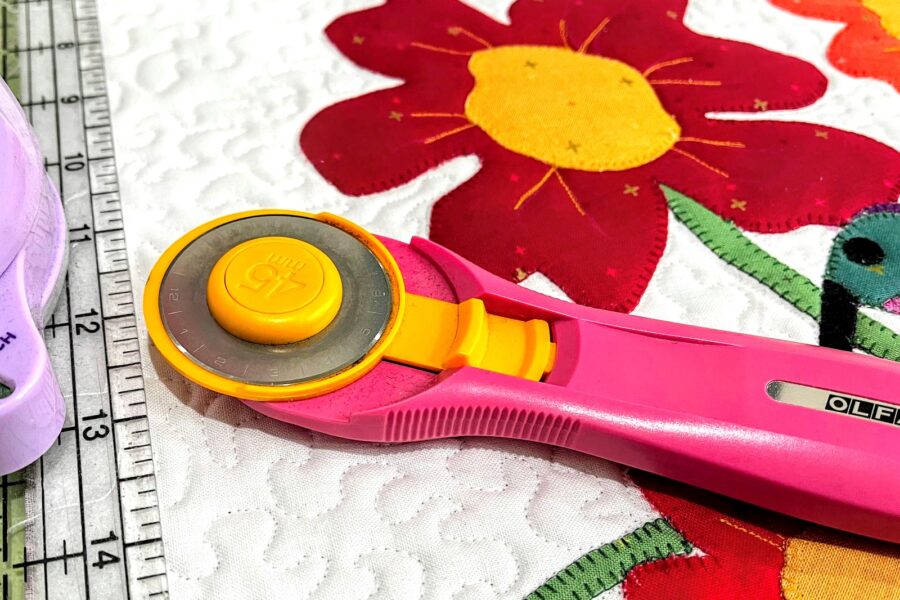
Step 8: Trim quilt to 12 ½” x 14 ½”.
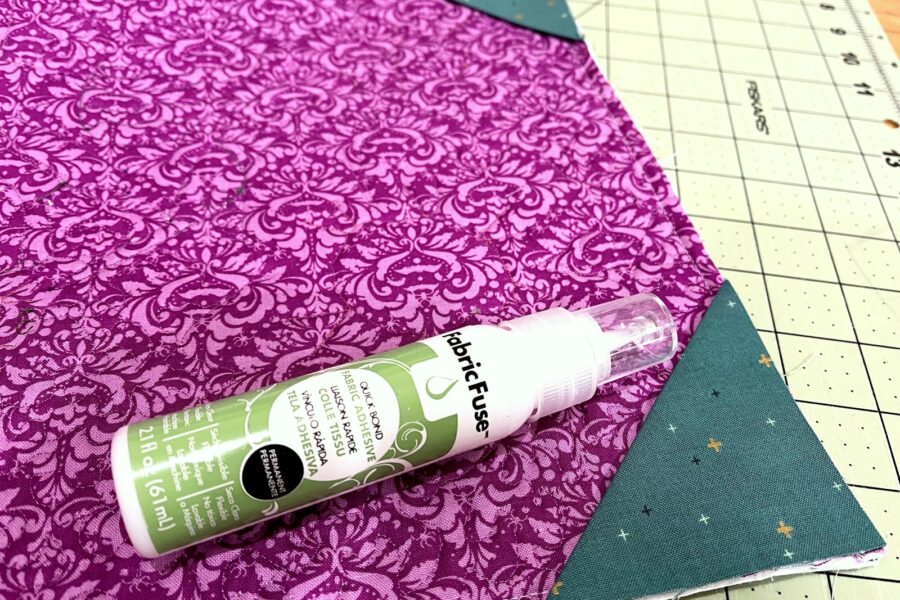
Optional: Add dowel hanger - Create corner pockets on the back using two 3½” x 3½” squares of fabric. Lightly spray baste squares. Fold the squares in half diagonally and press on fold. Place raw edges of folded corners in top corners of wall hanging back. Use iCraft Liquid Fabric Fuse along raw edges to glue in place; let dry.
Add binding using your favorite method. Place dowel between the two corners. The dowel hangs easily on a nail on a wall or use clips to attach to a hanger.
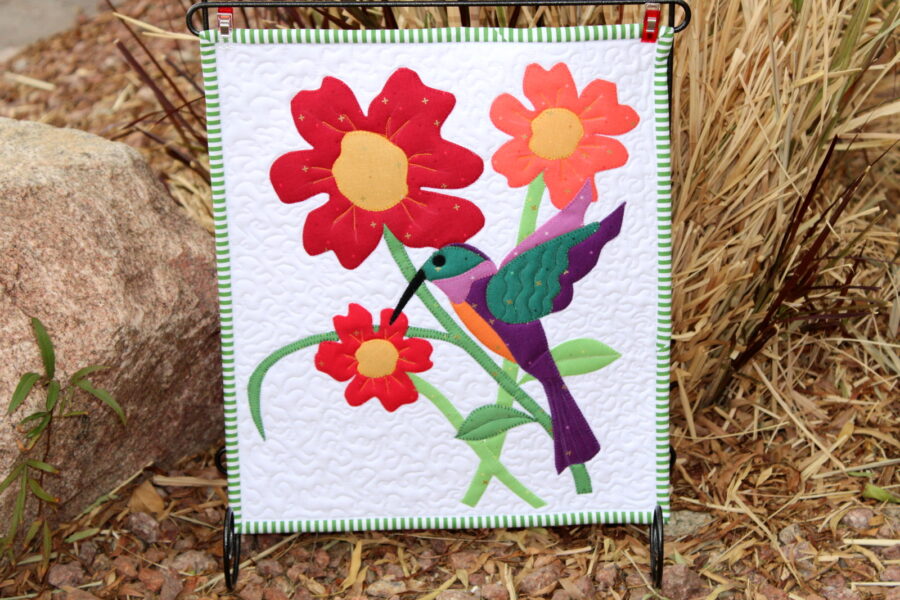
This little mini is quick, easy, and adds just the right touch of spring to your home. You can find the "Spring Is Magical" pattern HERE.