
Who would have thought we'd be making masks for personal and work use...not me!
Some people are totally heroes in my book for the 100's or 1000's of masks they've made.
Thank you for taking care of our families, friends, and medical community!


I design for ThermOWeb and Crafter's Edge, so I've combined two of their new
products Crafter's Edge Mask Die and HeatnBond Sew-In interfacing, plus
Heat n Bond Lite Iron-on Adhesive to create masks for everyday use.
products Crafter's Edge Mask Die and HeatnBond Sew-In interfacing, plus
Heat n Bond Lite Iron-on Adhesive to create masks for everyday use.
HeatnBond brand products) has developed this new interfacing for use in the MasksNow.org
3-Layer Mask Pattern from Created for Crisis, as well as other patterns that call for
lightweight 100% polyester nonwoven, sew-in interfacing."

Directions come with the Face Mask Die and they are really easy to follow. Just run your
mask front, lining and interfacing through the Crossover II Edge using the mask die.

Sew the rounded edge of fabric and interfacing mask pieces together.

Clip the round edge as shown in directions or with pinking shears.

Press seam flat on mask interfacing and mask fabric.

If you want to add a heart or other design to the mask, now is the time.
Iron Heat n Bond Lite Iron-on Adhesive to the wrong side of the design fabric.
Run it through your cutter following directions or cut out shape by hand.

Stitch around the shape using a blanket or straight stitch.

Sew elastic or fabric ties to mask lining, a quarter inch from edges.
Stitch a couple times over the elastic or ties to secure them a little better.

Layer mask: Lining face up, mask front face down, and interfacing face down.

Pin all layers together.

Sew around all edges making sure to catch all layers. Be careful to not catch the elastic
or ties in the seams. Leave a 2" opening for turning. Turn inside out. Press.

If you want to add wire to the nose area, now is the time to do it.
Curl and crimp the ends tightly on the wire and tuck it centered in the seam at the mask top.

It helps to pin along the seam to keep the wire in place until you sew around the edges.

Slowly stitch 1/4" from the edge all the way around the mask. Stitching slowly will
help you avoid the wire and not break your needle. Be sure to sew open seam closed.

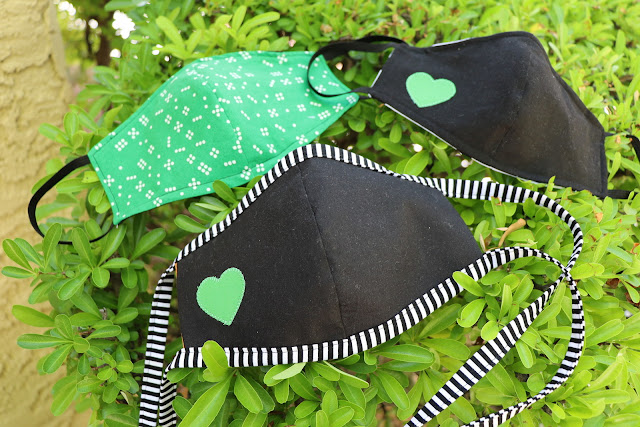
The masks work great with elastic, ties, or seam binding around the edges.
Using a different fabric for lining is best. Making it a bit fun (with spider fabric) works, too!

Bribing these guys with a delivered barbecue dinner helped me get these photos.

It's always hard to see smiles when wearing masks, but I think their smiles show through.


My beautiful green-eyed daughter willing posed with her mask AND she brought us cookies!

The Crafter's Edge mask die can cut several sizes of masks, including for children.

The masks sew together quickly and using the HeatnBond Sew-In interfacing gives a
little more protection when wearing them in public. Stay safe and healthy!
Check out the ThermOWeb blog for more craft ideas!


Directions come with the Face Mask Die and they are really easy to follow. Just run your
mask front, lining and interfacing through the Crossover II Edge using the mask die.

Sew the rounded edge of fabric and interfacing mask pieces together.

Clip the round edge as shown in directions or with pinking shears.

Press seam flat on mask interfacing and mask fabric.

If you want to add a heart or other design to the mask, now is the time.
Iron Heat n Bond Lite Iron-on Adhesive to the wrong side of the design fabric.
Run it through your cutter following directions or cut out shape by hand.

Stitch around the shape using a blanket or straight stitch.

Sew elastic or fabric ties to mask lining, a quarter inch from edges.
Stitch a couple times over the elastic or ties to secure them a little better.
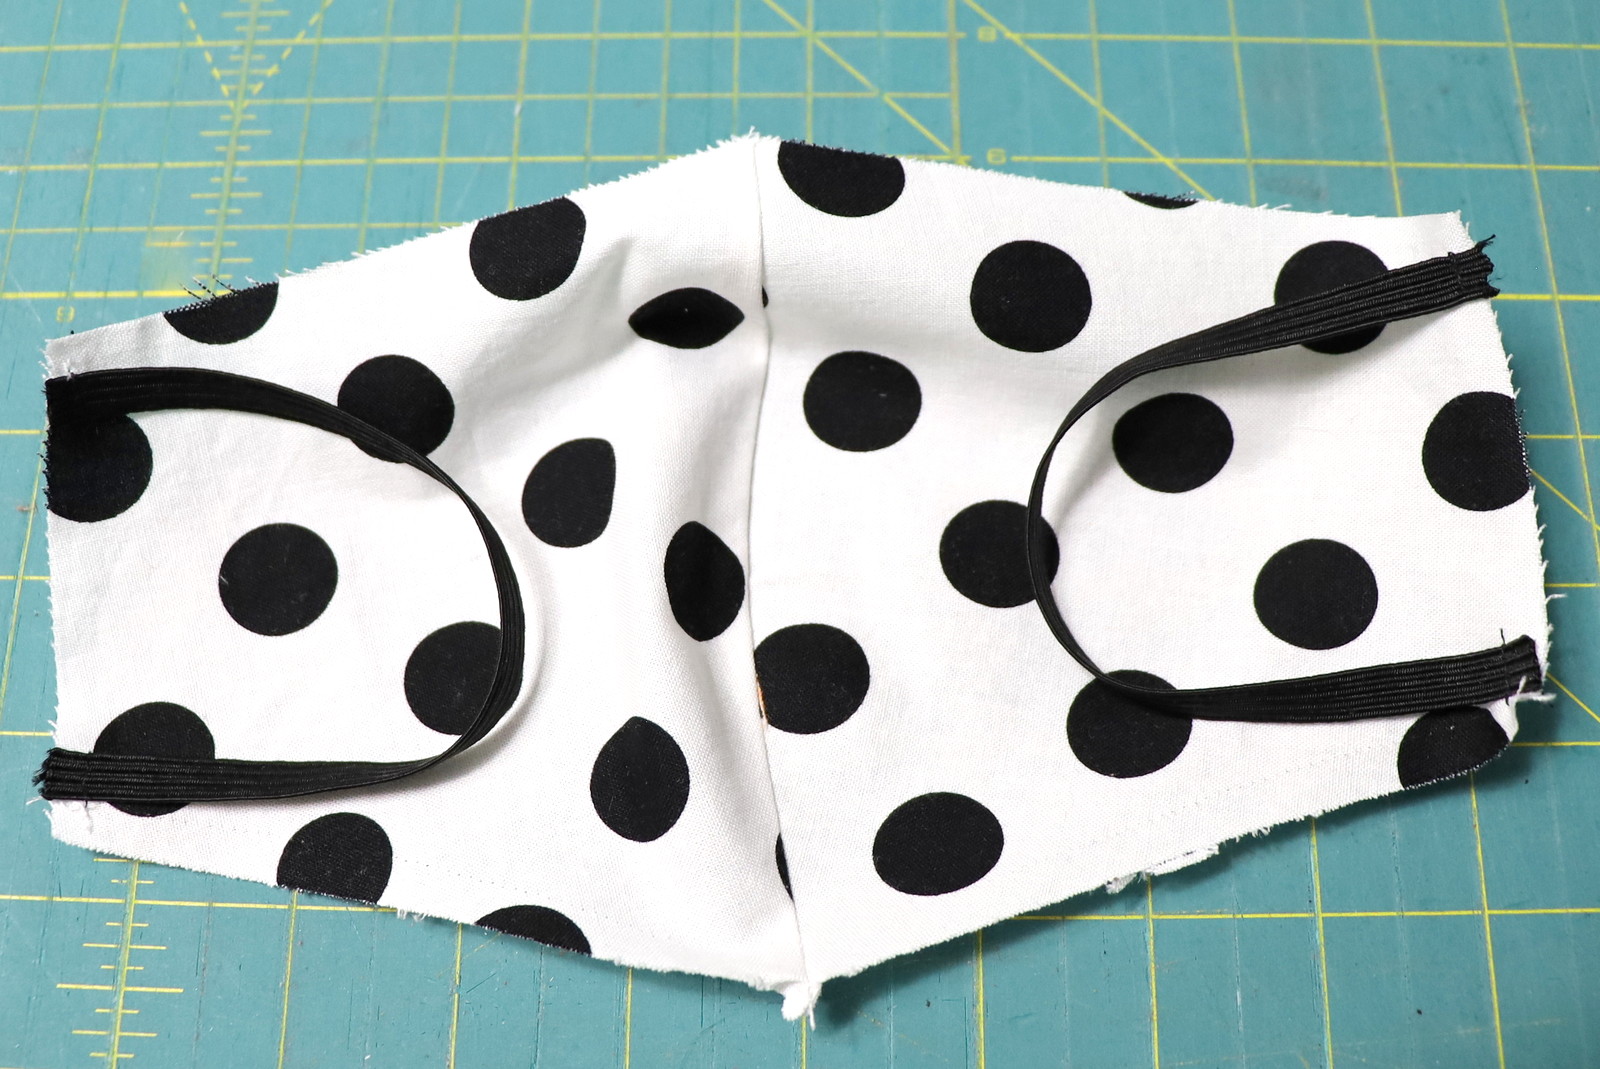
Layer mask: Lining face up, mask front face down, and interfacing face down.

Pin all layers together.

Sew around all edges making sure to catch all layers. Be careful to not catch the elastic
or ties in the seams. Leave a 2" opening for turning. Turn inside out. Press.

If you want to add wire to the nose area, now is the time to do it.
Curl and crimp the ends tightly on the wire and tuck it centered in the seam at the mask top.

It helps to pin along the seam to keep the wire in place until you sew around the edges.

Slowly stitch 1/4" from the edge all the way around the mask. Stitching slowly will
help you avoid the wire and not break your needle. Be sure to sew open seam closed.

The masks work great with elastic, ties, or seam binding around the edges.

Using a different fabric for lining is best. Making it a bit fun (with spider fabric) works, too!

Bribing these guys with a delivered barbecue dinner helped me get these photos.

It's always hard to see smiles when wearing masks, but I think their smiles show through.


My beautiful green-eyed daughter willing posed with her mask AND she brought us cookies!

The Crafter's Edge mask die can cut several sizes of masks, including for children.

The masks sew together quickly and using the HeatnBond Sew-In interfacing gives a
little more protection when wearing them in public. Stay safe and healthy!
Check out the ThermOWeb blog for more craft ideas!


