Showing posts with label Warp and Weft. Show all posts

Tuesday, April 19, 2022

Sweet Dreams Baby In Benartex Warp And Weft

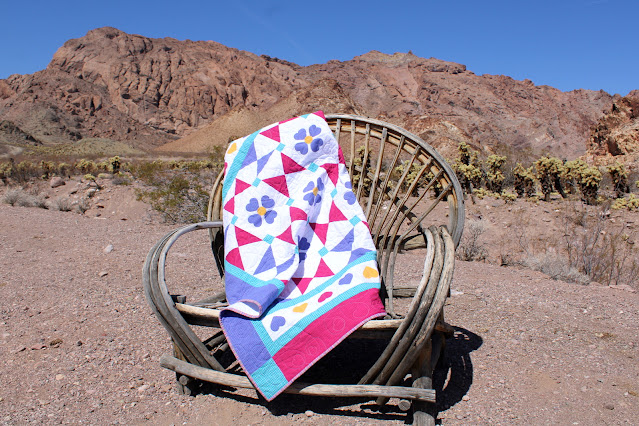
It is gingham week on the ThermOWeb so thanks to Benartex, I was able to make "Sweet Dreams Baby" using their gingham from the Warp & Weft by Modern Quilt Studio fabric line. 

48" x 60"


What is Warp & Weft? Warp and weft refer to the horizontal and vertical lines in the weaving process. The threads on a loom that are parallel to the selvedge are called warping. The perpendicular threads are called the weft. 


WHAT YOU NEED:

Heat n Bond Lite Iron-on Adhesive 

Stitch n Sew High Loft Fleece 60” wide

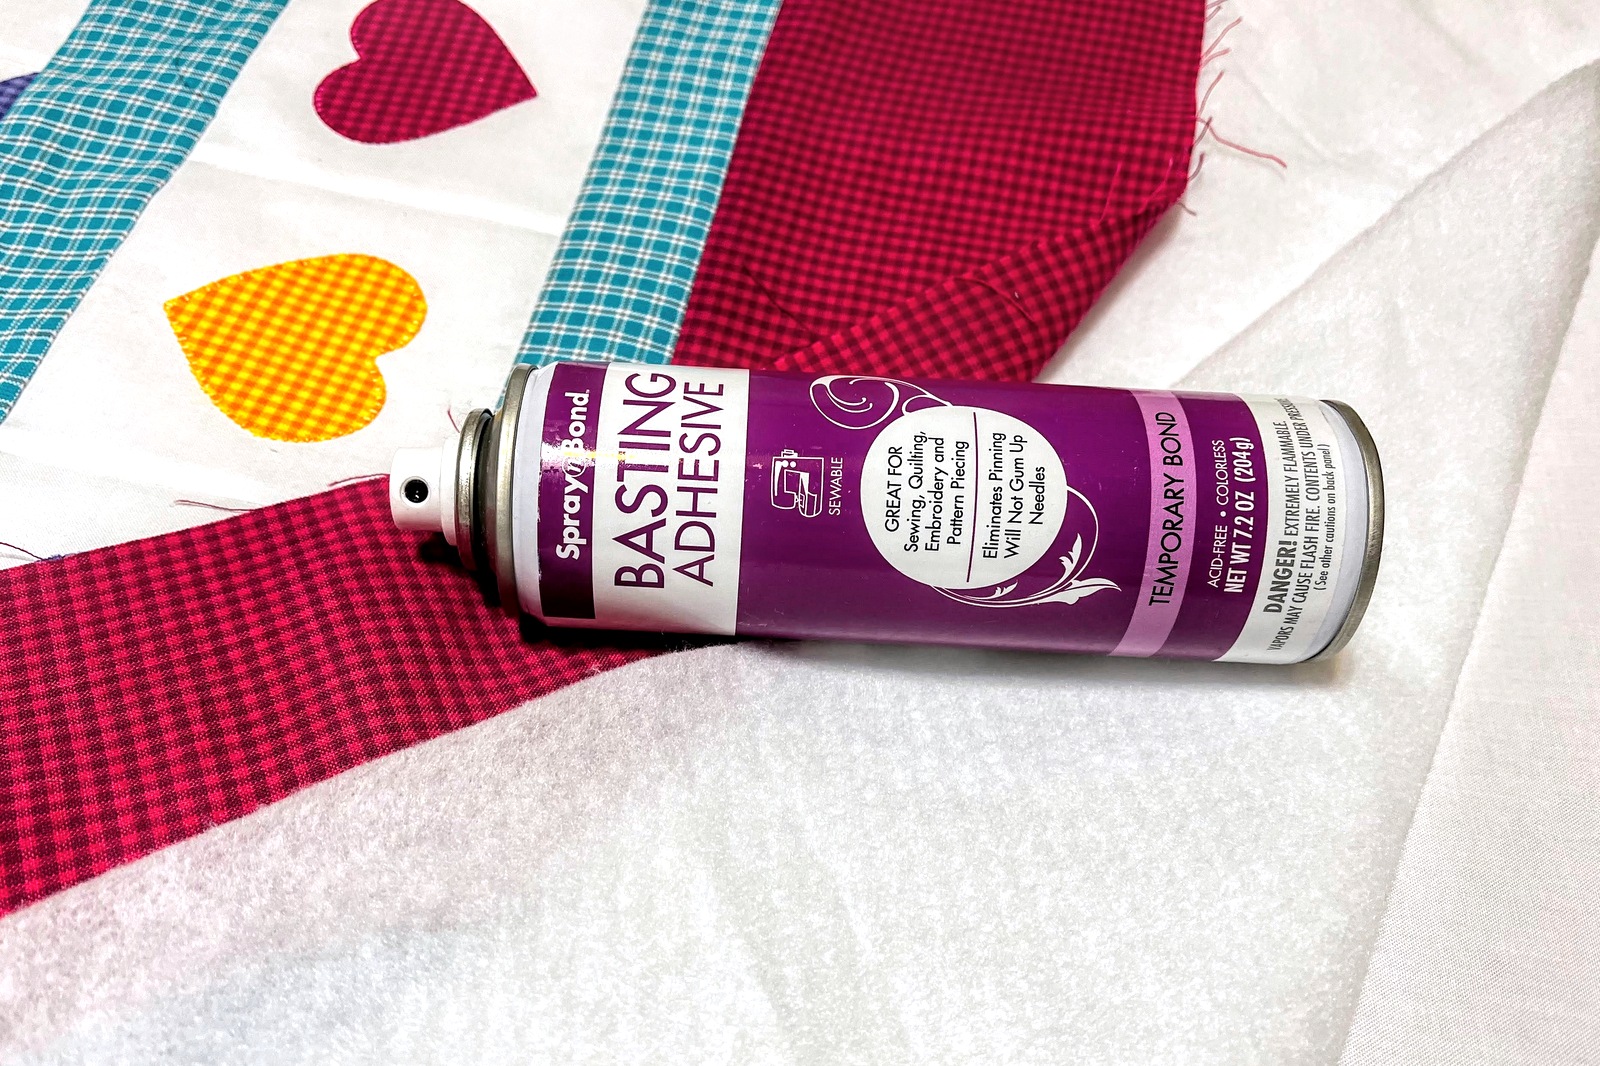
Spray n Bond Basting Adhesive

Aurifil Thread

Oliso iron

Optional: Crafter’s Edge Crossover with 2 ½” x 2” heart die and 1 ½” circle

Benartex Warp & Weft and Benartex Superior Solids


An Oliso iron is a great tool for using Heat n Bond Lite Iron-on Adhesive on your applique projects.


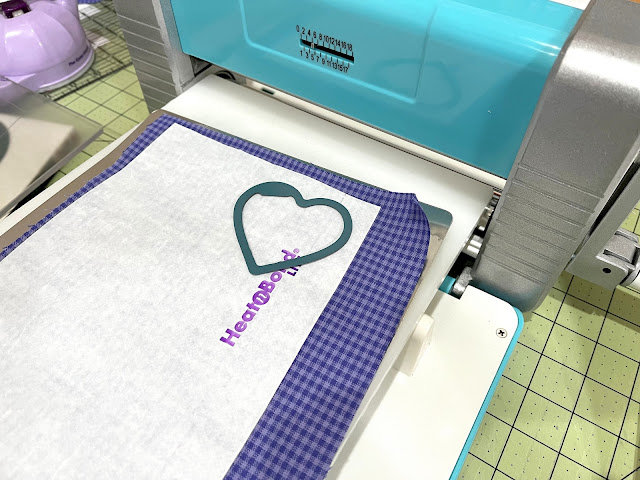
Another great tool for sewing is the Crafter's Edge Crossover II and cutting dies. "Sweet Dreams Baby" hearts were cut using this awesome machine and heart and circle die! (The pattern includes the heart and circle if you don't have a cutting device.)


Iron Heat n Bond Lite Iron-on Adhesive to wrong side of fabrics; let cool. Following Crafter’s Edge instructions, place paper side of adhesive facing up on platform*. Cover as directed before running through machine. Run die and fabric through machine. Peel off paper liner from the backs of applique pieces. Place applique, adhesive side down, on right side of fabric. Press according to package directions until entire piece is bonded. Let cool. Sew around edges of applique using a straight, zig-zag, or blanket stitch. *To reverse the direction of design, place fabric side up before cutting.


I love that ThermOWeb has Stitch n Sew High Loft Fleece 60” wide for bigger projects. It is lighter than cotton batting and is perfect for a baby or summer quilt.


Quilt assembly with Stitch n Sew High Loft Fleece 60” wide and Spray n Bond Basting Adhesive:

Protect the area where you will be working by placing an old sheet or paper under and around the area you’ll be spraying. Place the batting on work area, smoothing to remove wrinkles. Place the quilt backing, wrong side down, on top of batting. Smooth to remove wrinkles. Having the batting a bit larger than the backing is suggested.


Roll back about six inches of the quilt back to expose some of the batting. Using the basting spray, spray batting from one edge to the other. Carefully lay the wrong side of quilt backing over the sprayed surface of batting. Smooth fabric to ensure it adheres to the sprayed fabric and remove any wrinkles. Roll back the rest of the quilt back to continue spraying and smoothing about six inches at a time until you reach the bottom of the quilt back. Check for creases or folds you might have missed.


Turn backing and batting over to have batting facing up. Lay quilt front, wrong side down, on batting. Make sure quilt front is lined up correctly; smooth out wrinkles. Use the same spray and smooth method as the backing. 


Trim edges and square-up quilt. Quilt as desired and add binding.


"Sweet Dreams Baby" was quilted with Aurifil's Berrylicious variegated thread #4647.


You can find the pattern for "Sweet Dreams Baby" in my Etsy store HERE.


Photos were taken at the Nelson Ghost Town in Searchlight, Nevada.


There were two crew members at this photoshoot!


Carla from Creatin' in the Sticks and I had a great time when she visited Las Vegas.
We got our husbands to hold quilts while we visited Nelsons Ghost Town. They were awesome!


Carla was just as cute and amazing as I thought she'd be.


Don't forget to visit the "Wonderful World of Color" blog hop that's happening this week!


Dresden Carnival In Rikstacket

C heck out the Summer 2026 R IKSTACKET quilt magazine that my friend, Britt-Inger, sent me  from Sweden. It was such a pleasure and an hono...