Showing posts with label Mini Quilt. Show all posts

Sunday, June 23, 2024

Cackling Stitches Prowling Pumpkins Mini Quilt

We have a Facebook page for Halloween lovers, Cackling Stitches, where we share
free patterns, sew alongs, and block of the month patterns.
We'd love to have you join in!
Check it out HERE!


This week I added a free pattern to the Cackling Stitches page:


"Prowling Pumpkins" is a 12" x 14" mini quilt with three interesting characters:

PETRIFIED PETE


FREAKY FANNIE


GHOSTLY GRAYSON


You can find the "Prowling Pumpkins" free pattern HERE.


Friday, August 11, 2023

Flashback Friday Restless Raven's Room

Flashback Friday is this fun mini quilt I created for Wicked Wednesday on our Facebook Cackling Stitches group page in 2021. 


12" x 14"


You can find Restless Raven's Room in my Etsy store HERE.

Tuesday, August 23, 2022

Creepy Cauldron Mini Quilt For Halloween

I'm a little crazy about Halloween and love making mini quilts to show off just how crazy I am. This mini is over on the ThermOWeb blog where you can find lots and lots of fun projects, including Halloween creations.

12" x 14"


This mini quilt is Creepy Bunny approved!


I love using Heat n Bond Lite EZ Print Sheets for my applique projects.
Just run them through an inkjet printer...no tracing!


You can find the free pattern for "Creepy Cauldron" HERE.

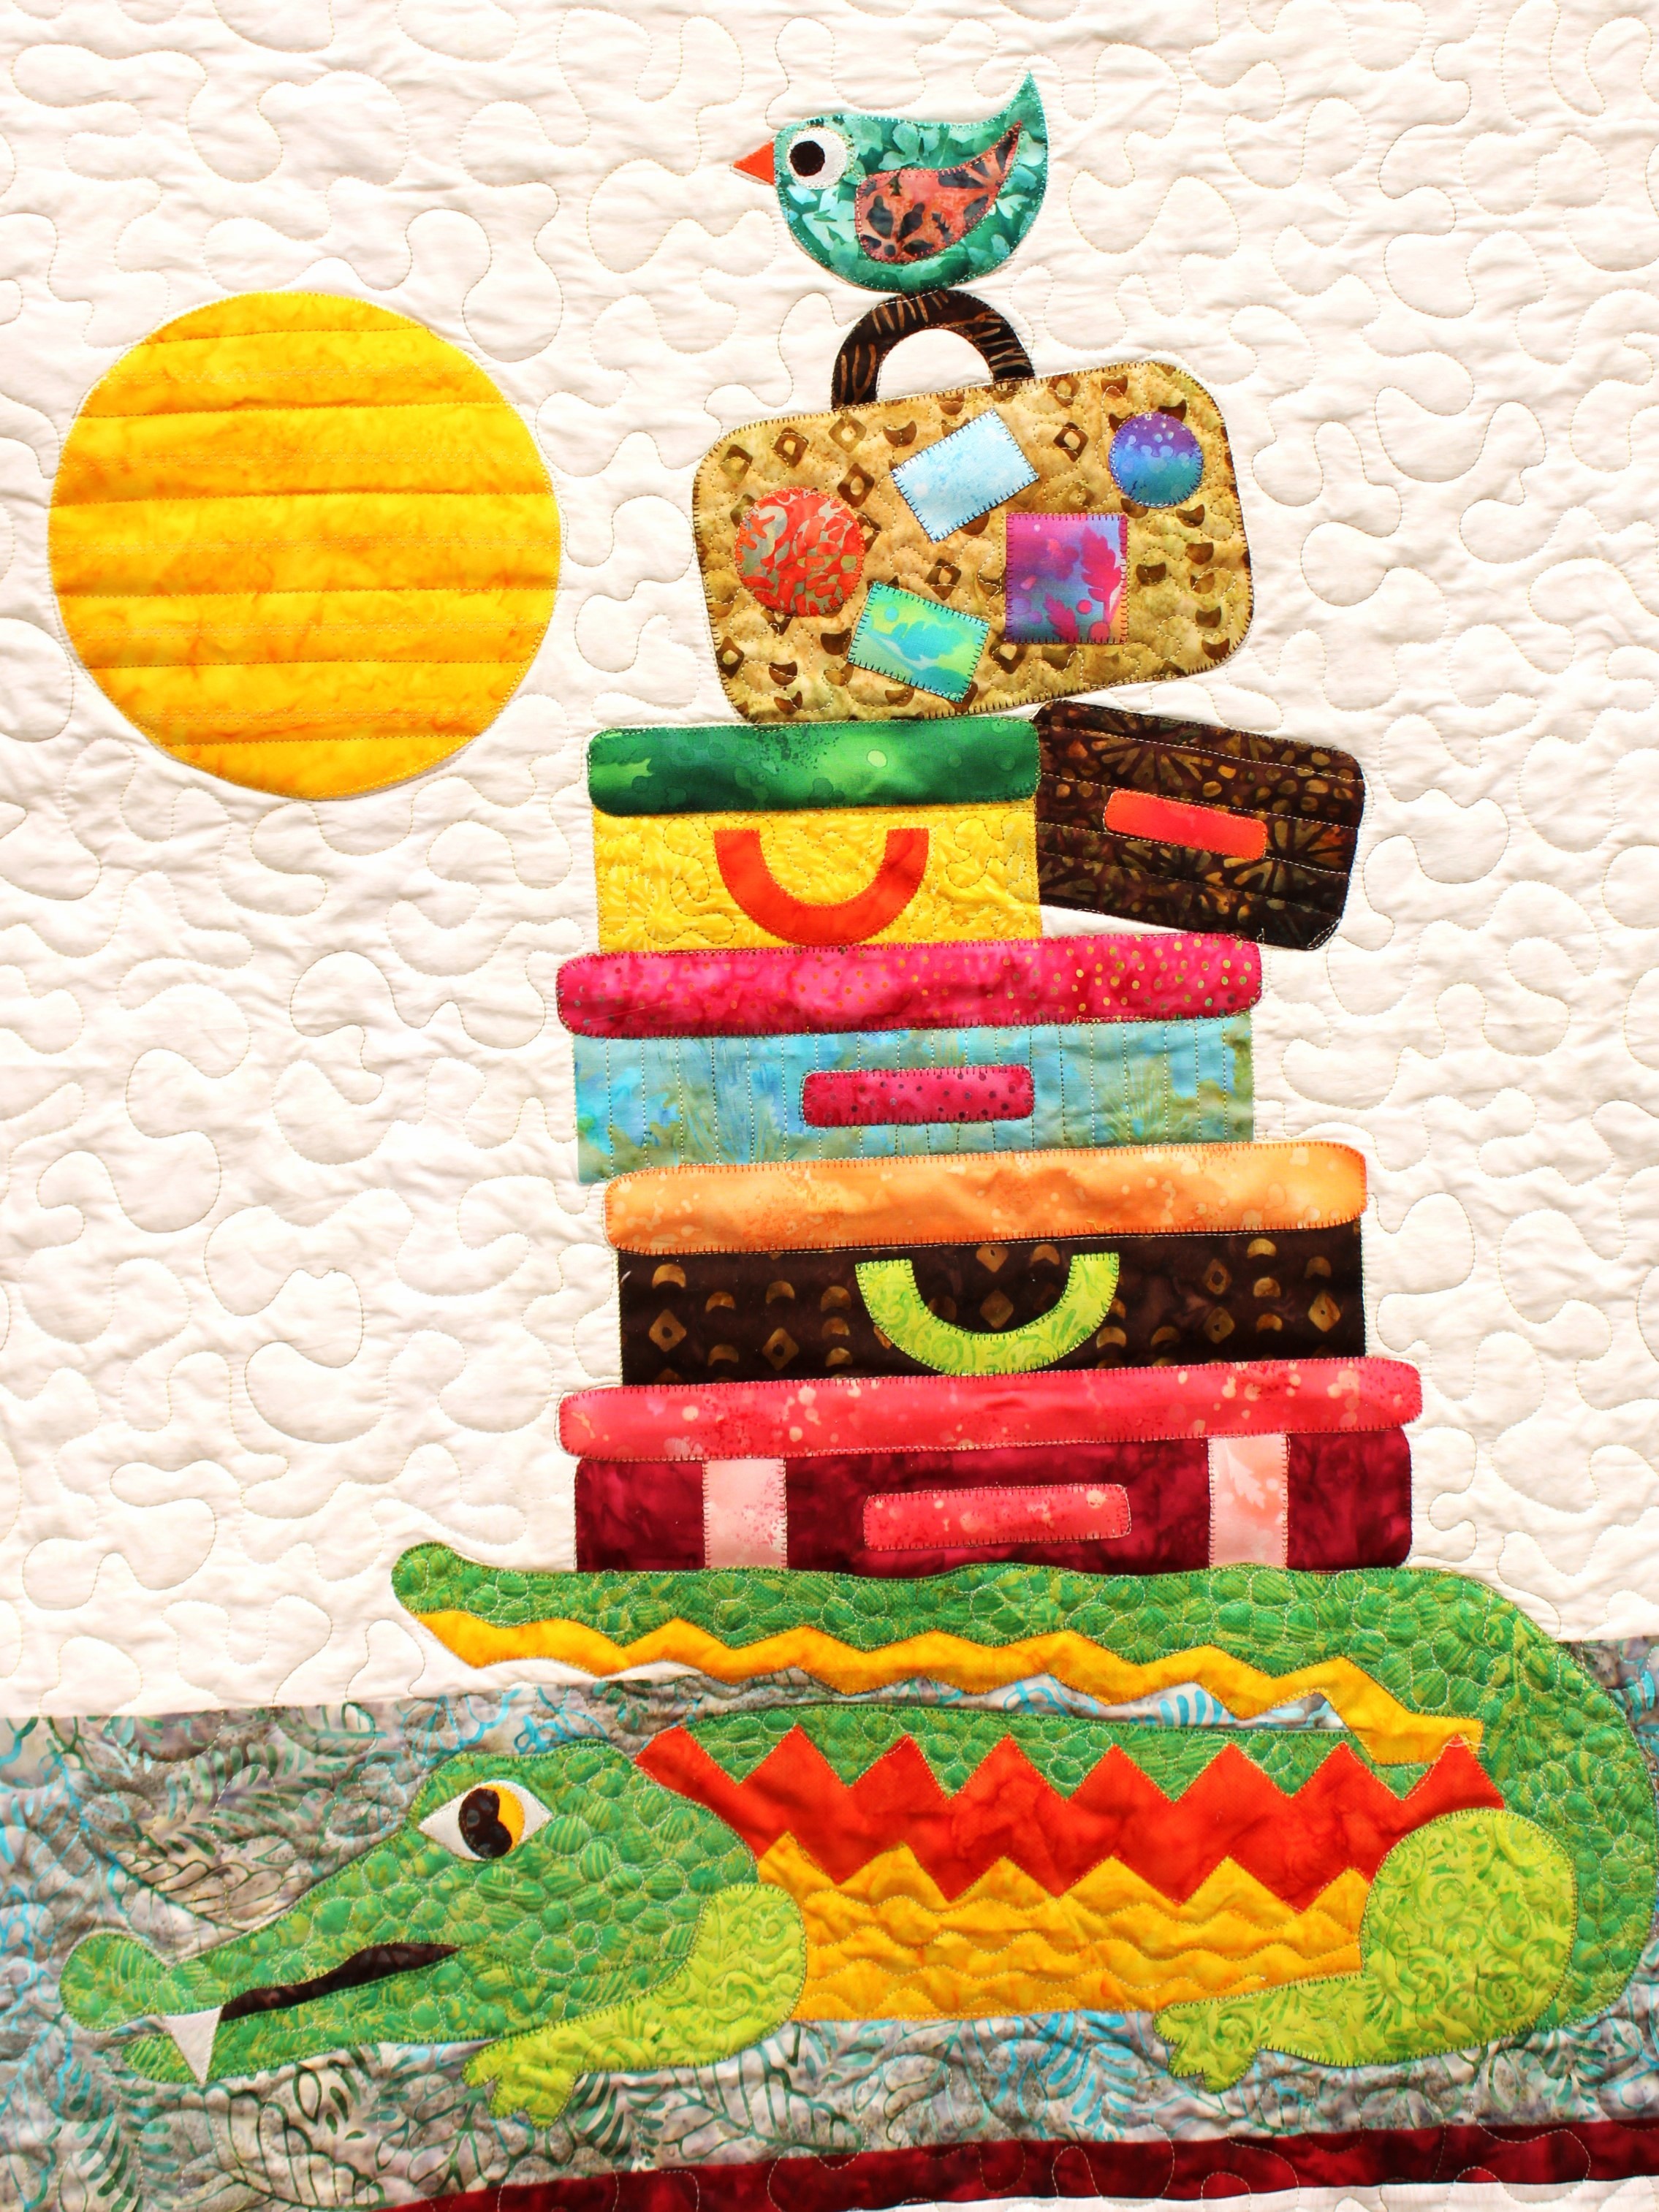
Day two of the "See Ya Later, Alligator" blog hop has been full of great ideas and inspiration. That's what is so awesome about blog hops! Carla at Creatin' in the Sticks always has great challenges for us.


My alligator travelled the blog hop scene yesterday.


Don't miss travelling to these blogs to see what they created!


We have more blog hops coming up and would love to have you join us!
Queen of Gadgets is in September...fun!


Thanks for stopping by!

Tuesday, August 2, 2022

It's Party Time With A Mini Quilt

In my humble opinion, a party isn't a party without cake. I prefer chocolate, but I never turndown a slice of deliciousness. Diets go out the window when someone sets a piece of cake in front of me with ooey-gooey frosting. I'm weak that way!
It's Party Time!
6" x 12" mini quilt


I'll take a piece of the red one (it's the biggest)!


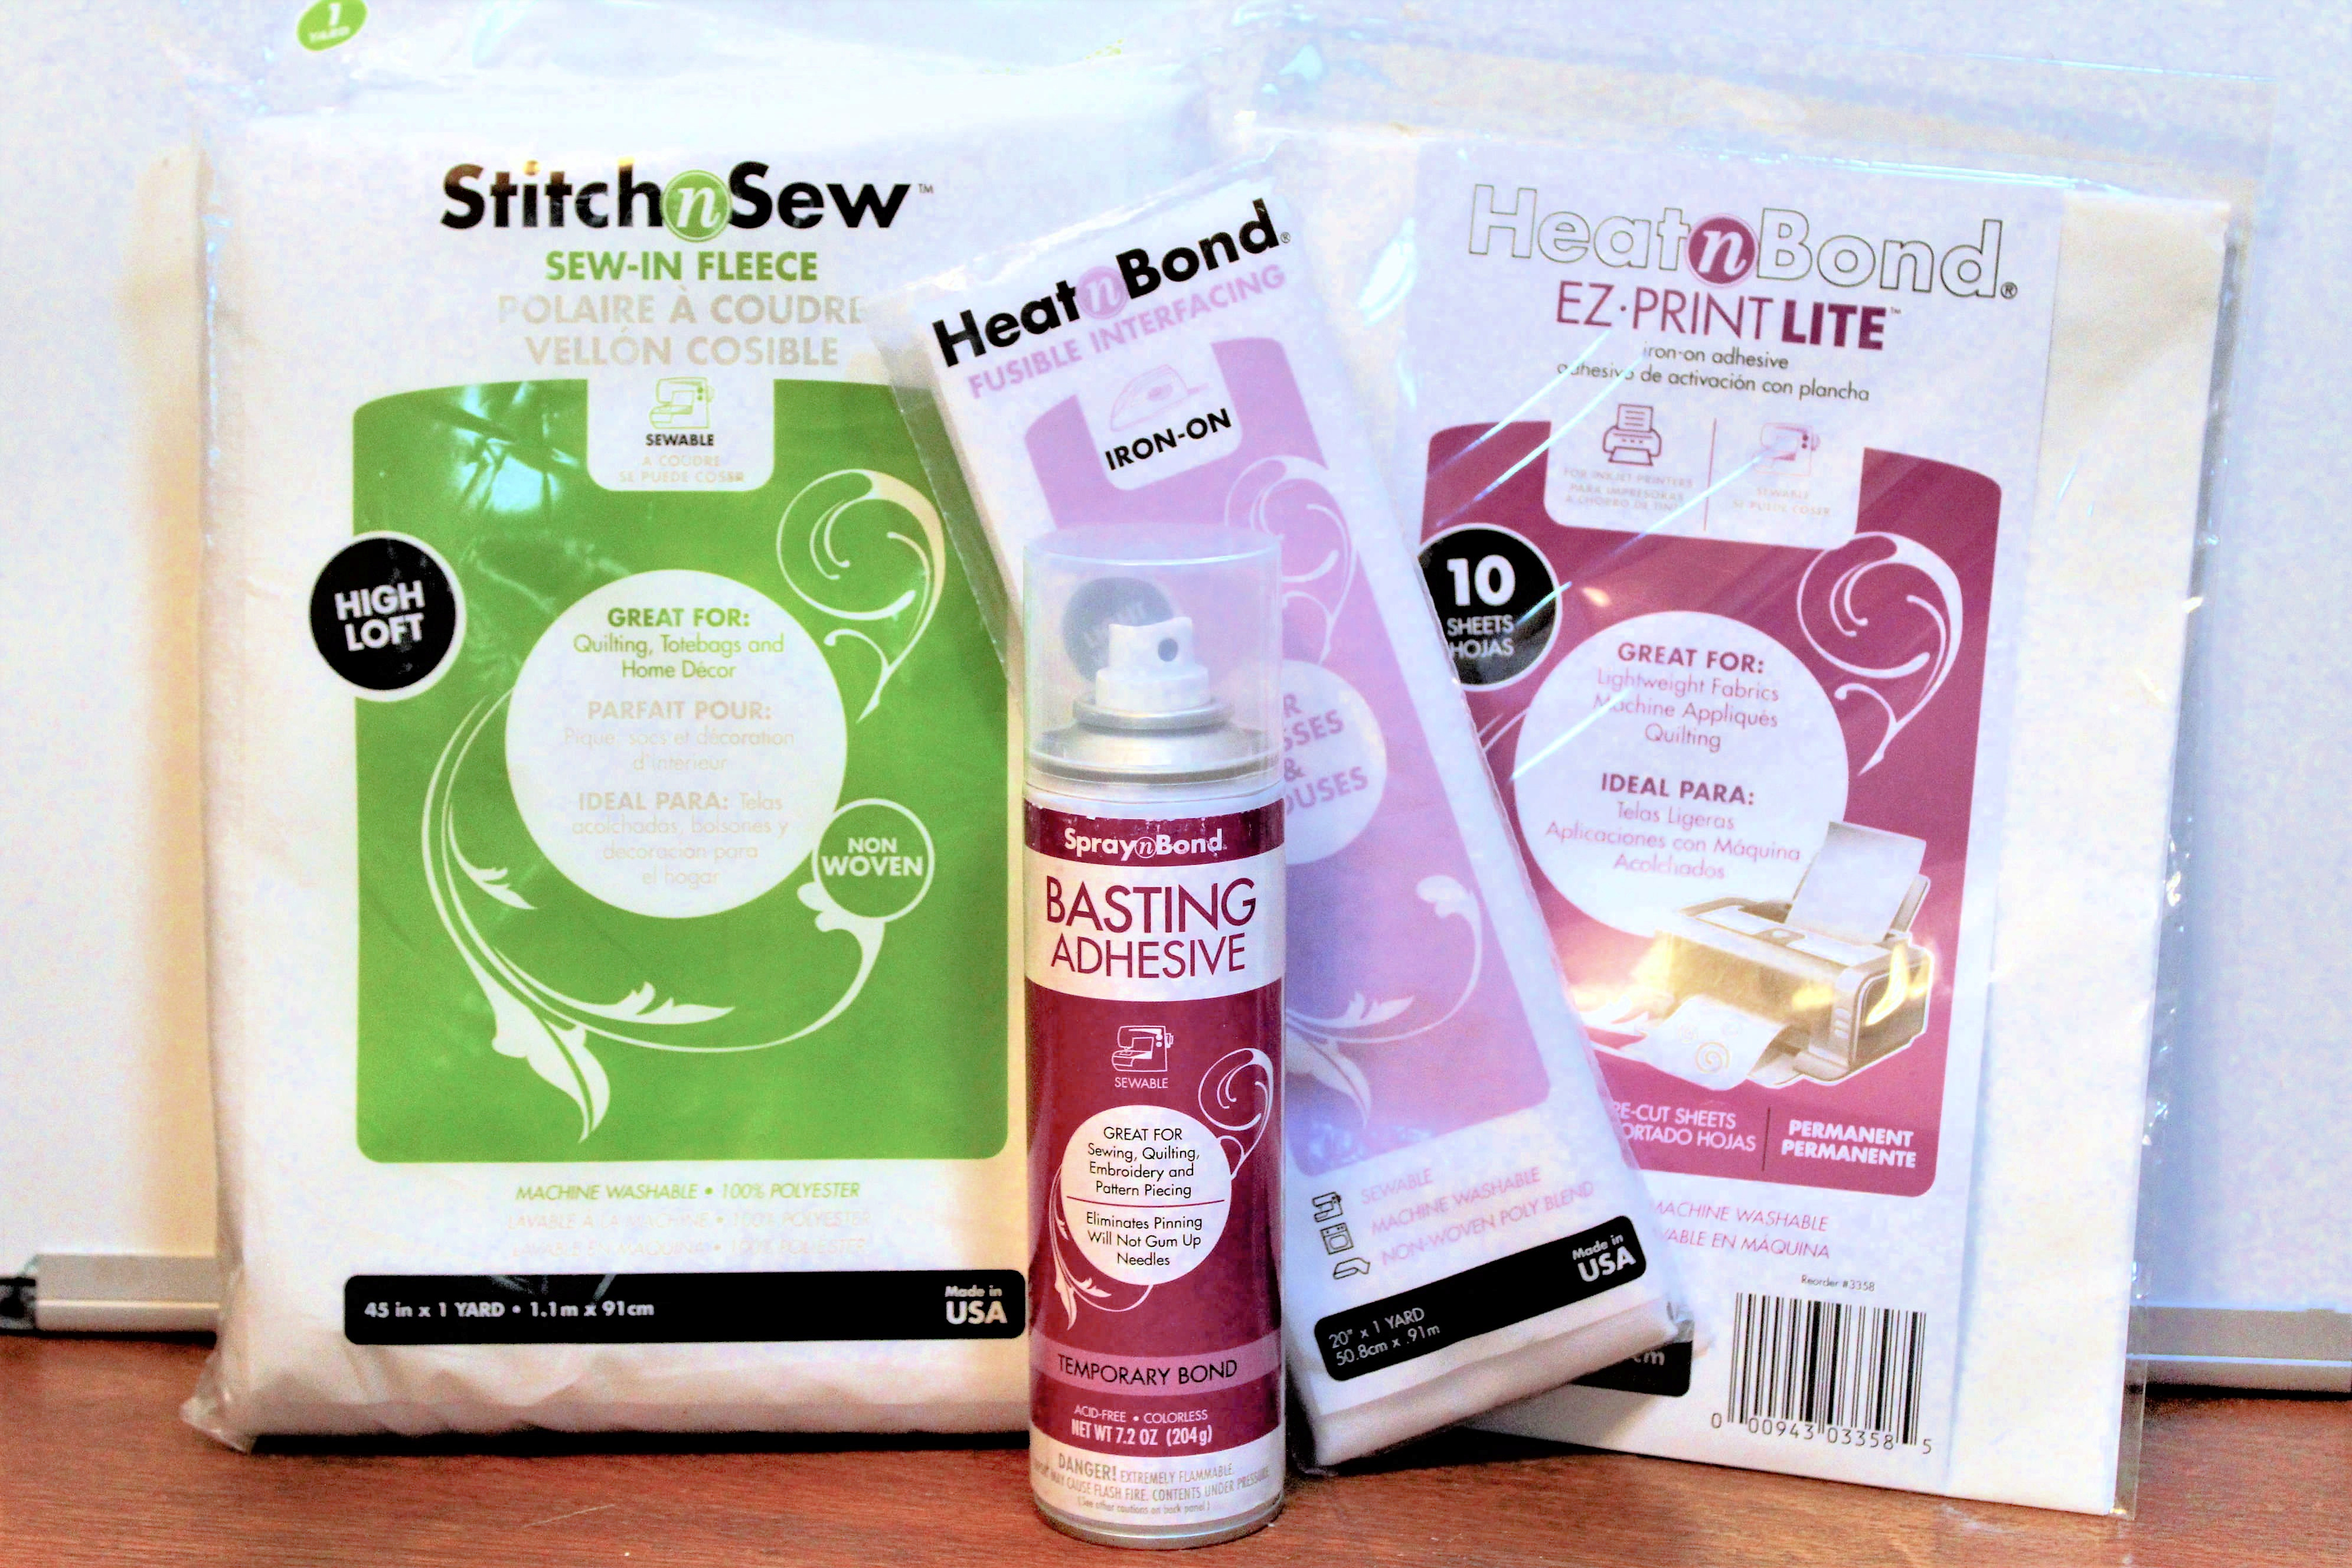
I love the ease of using HeatnBond EZ Print Lite Sheets in my inkjet printer for my applique designs. No tracing or lightbox needed!


The Ackfeld Manufacturing stands are perfect for mini quilts (I have three different sizes), but you can easily add a dowel to the back for hanging on a wall. Any small quilt is easy to hang with pockets and a dowel on the back.


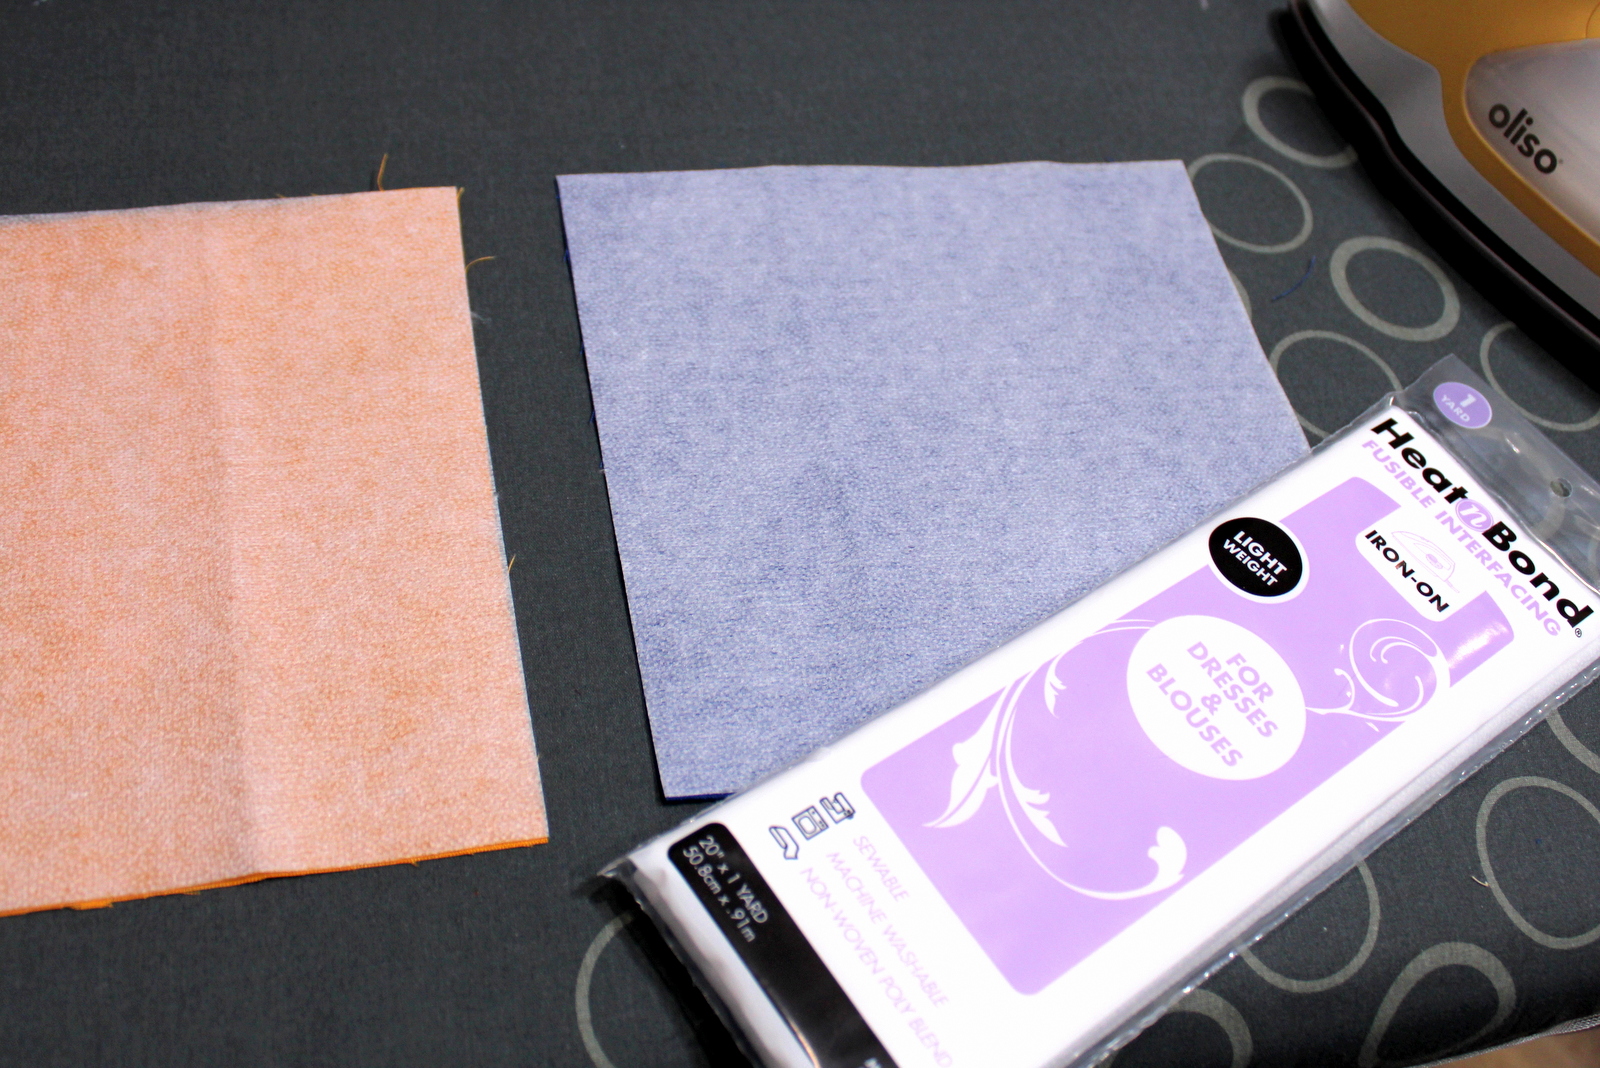
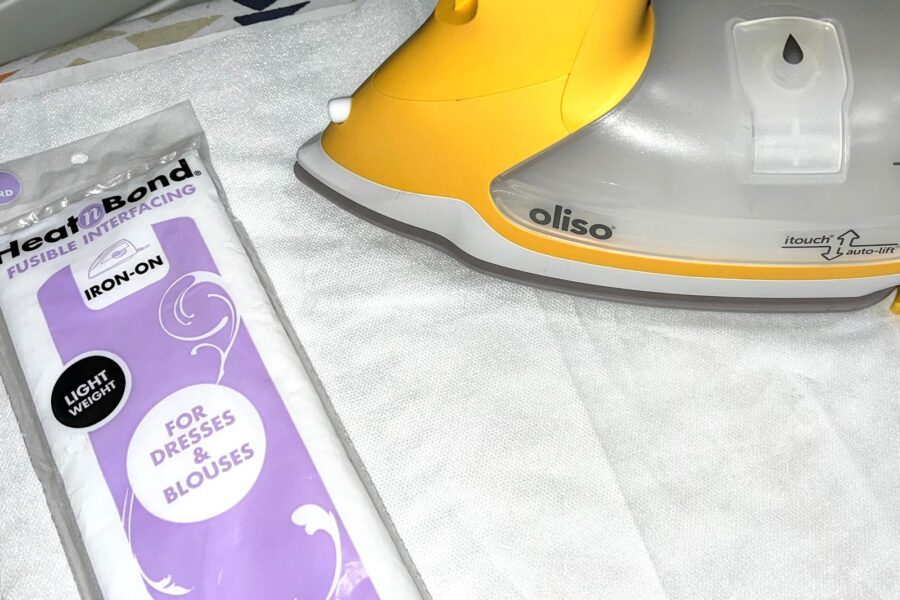
A great way to stabilize the fabric behind applique is by using Heat n Bond LightWeight Non-Woven Interfacing. Stitches lay smoother without puckering, which is great for those smaller fabric pieces.


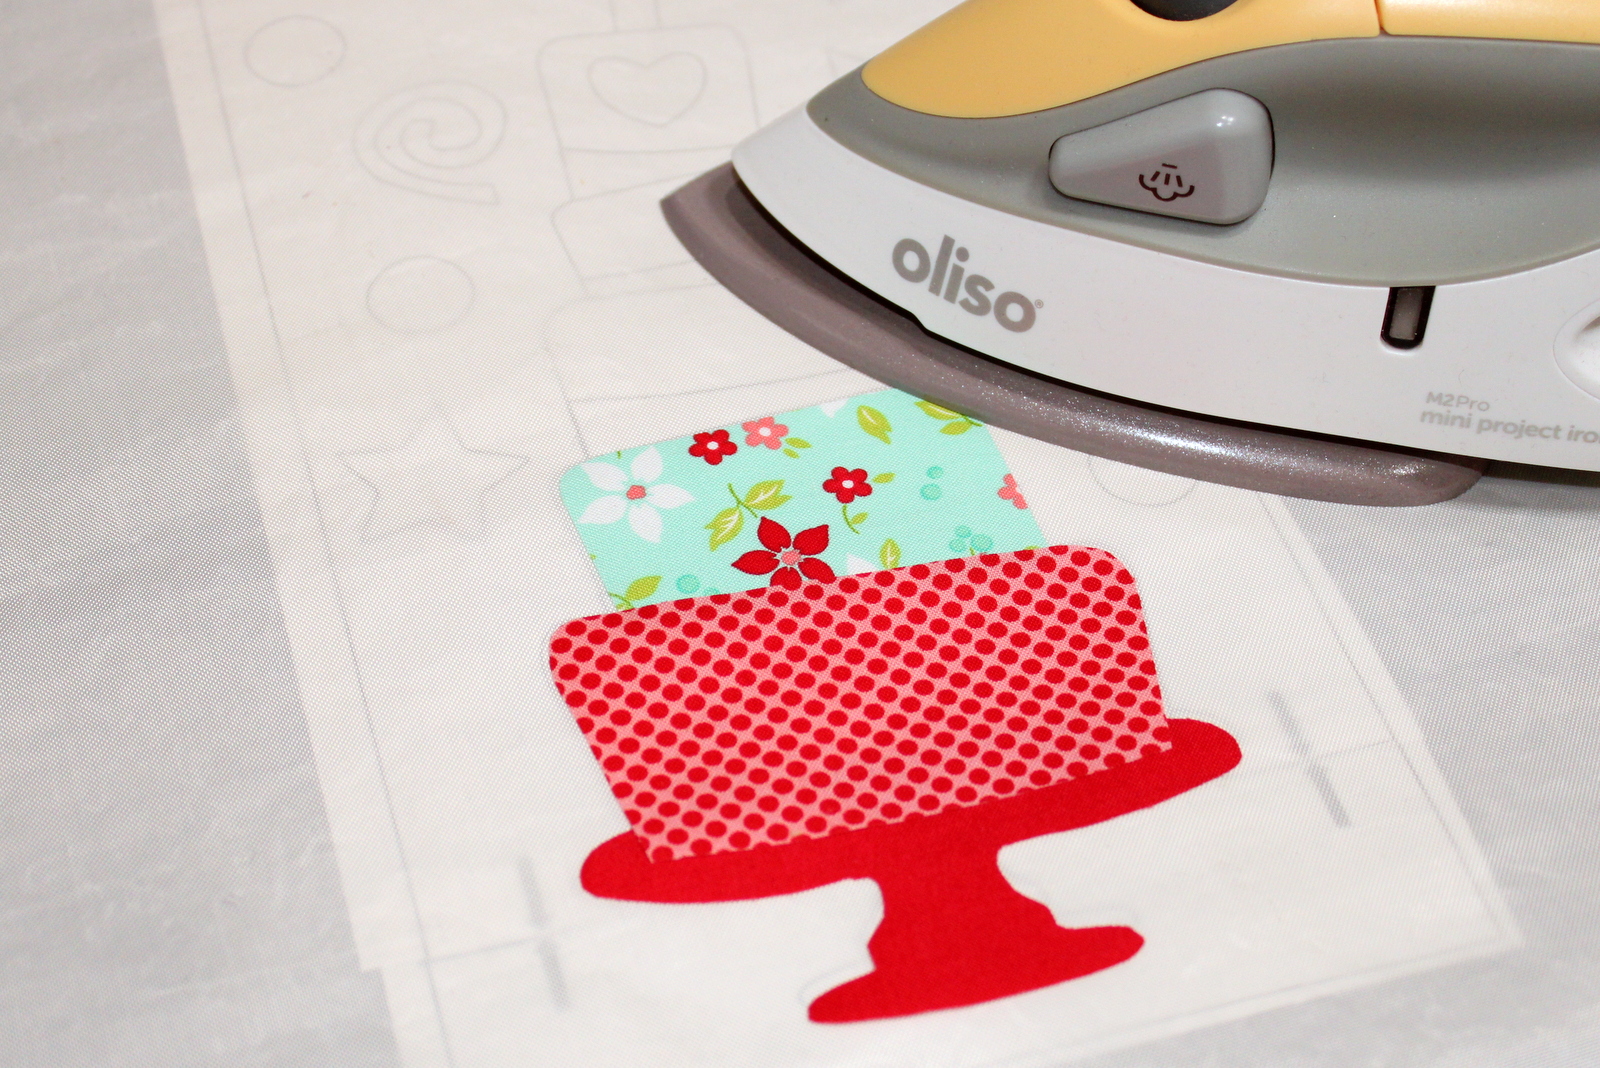
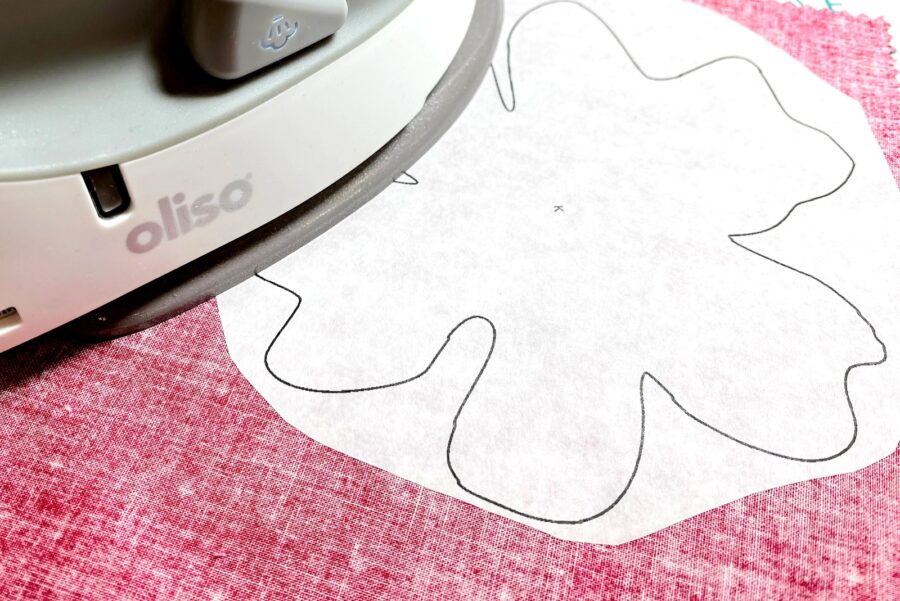
The mini Oliso iron is an awesome tool when working on smaller projects. Using a heatproof mat and your applique key helps get the applique pieces in just the right spot.


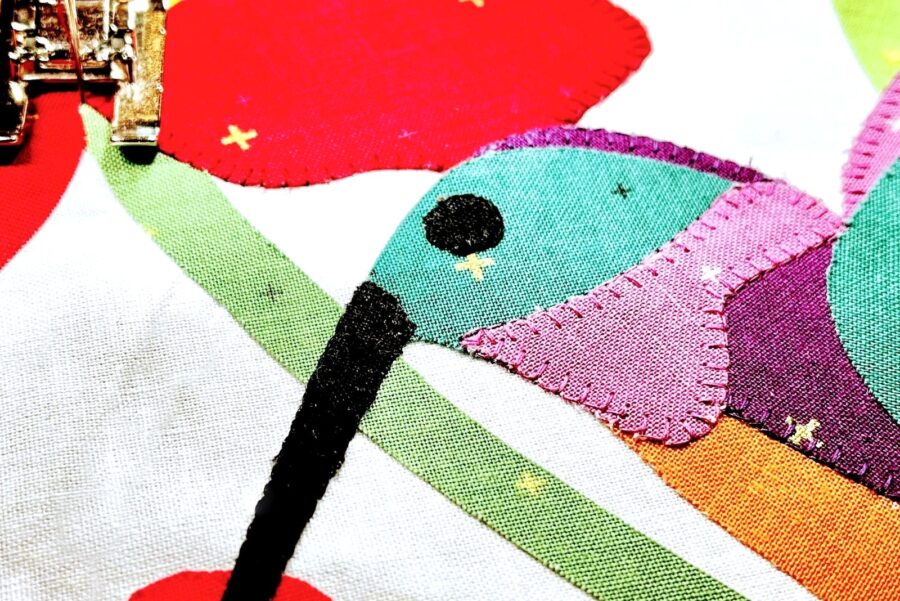
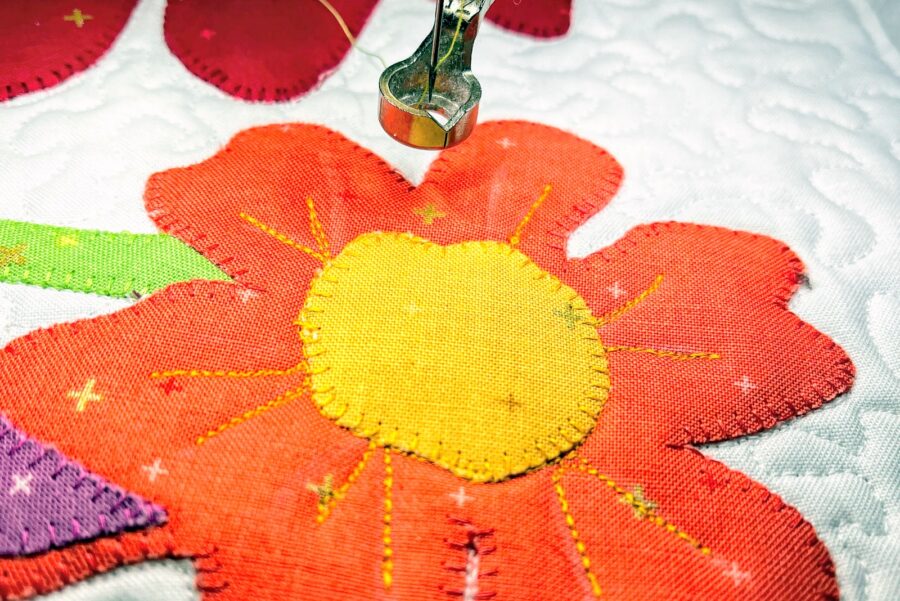
Stitching around applique doesn't need to be hard. You can use a straight, zig-zag, or blanket stitch...whichever one is easiest for you!


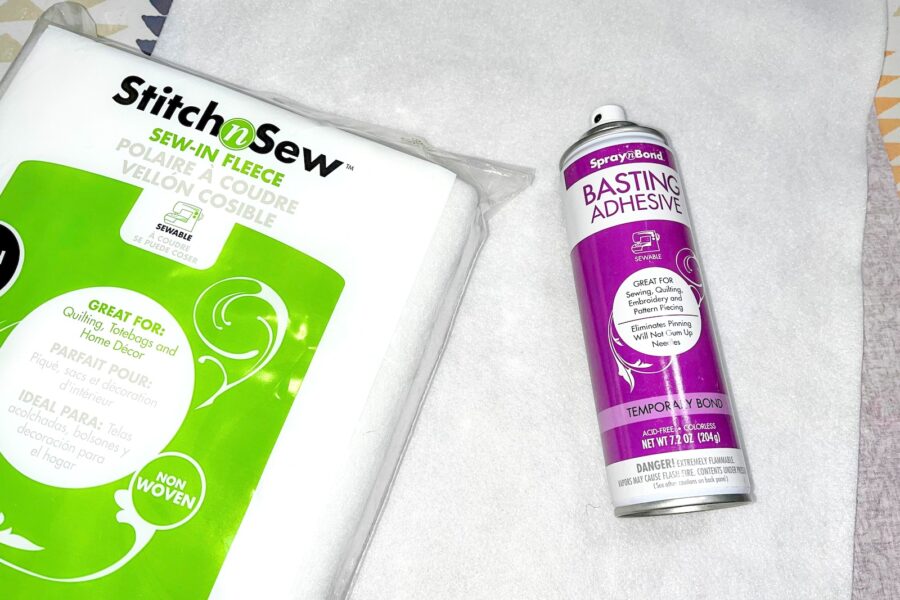
Spray n Bond Basting Adhesive and Stitch n Sew High Loft Fleece combined make adding a layer between your front and back fabrics a breeze. Light spray the layers, let dry, and your ready to quilt. No pinning all those layers!


Quilting all those layers can be as simple as stitching straight lines or using fancy designs stitches.


You can find the pattern for "It's Party Time" HERE.


ThermOWeb carries the perfect products to make your sewing time easier. Check out their online store HERE. Their blog has amazing projects in both fabric and paper that are just right for you! Check the blog out HERE.


Tuesday, June 28, 2022

Freedom Flight Mini Quilt

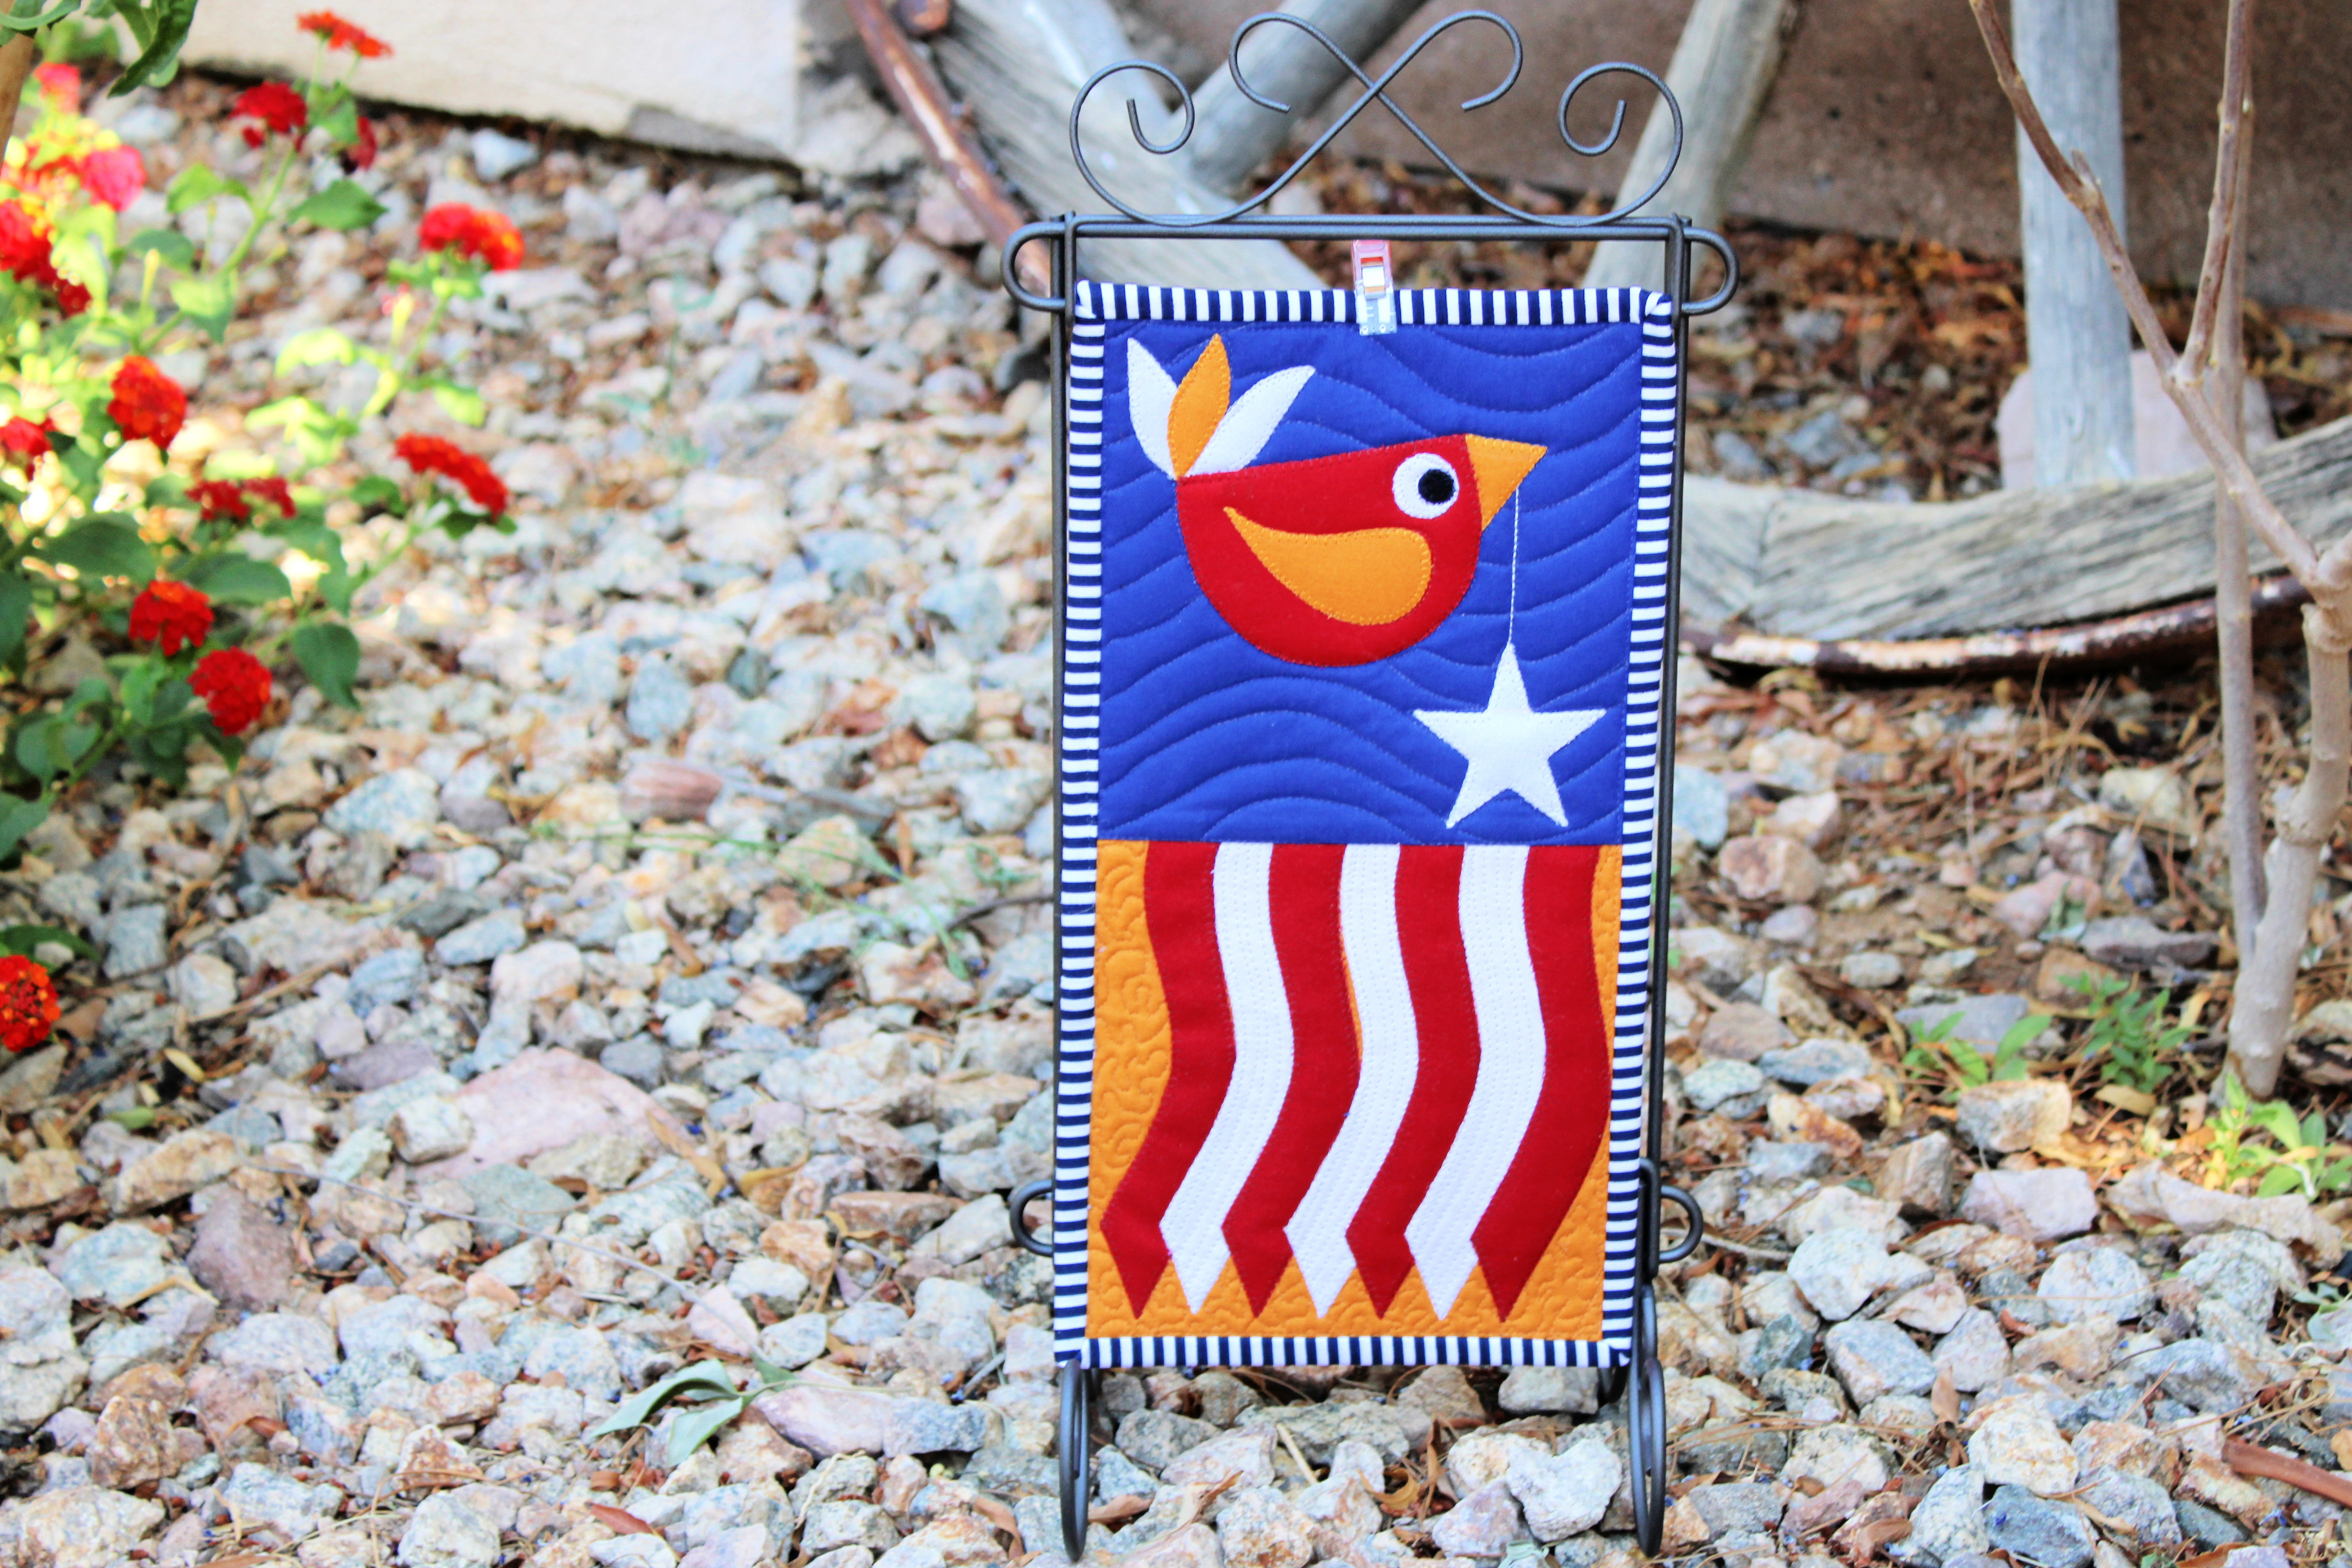
With June just around the corner, it is time to show some patriotic love for the freedom we enjoy.  Stars and stripes on display is a sweet way to show respect for our country. At only 6" x 12" in size, the "Freedom Flight" mini quilt was quickly assembled using my favorite products by ThermOWeb. 

"Freedom Flight"


These are my favorite go-to products from ThermOWeb:


Ironing Heat n Bond Light Weight Non-Woven Interfacing to the wrong side of fabric used in applique blocks can add stability and make stitching small pieces easier.


Once you cut out your designs, an Oliso iron makes the job of applying it to fabric a breeze! Place the shiny side down and press each area about 6 seconds.


Using Aurifil thread to stitch around the edges of your applique is a great way to show off those designs.


Adding Stitch n Sew High Loft Fleece to the middle of your mini quilt gives it just the right amount of loft.


The quilt holder is made by Ackfeld Manufacturing and measures 6" x 12".
You can find it on their website HERE.


You can find the PDF download for "Freedom Flight" HERE.


Check out the ThermOWeb blog for more project ideas.


Thanks for stopping by!

Monday, April 11, 2022

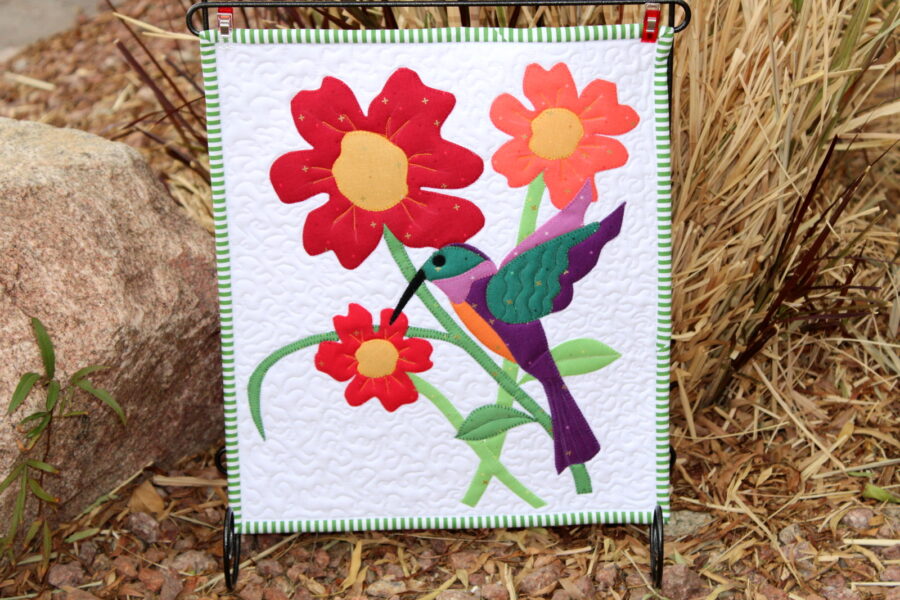
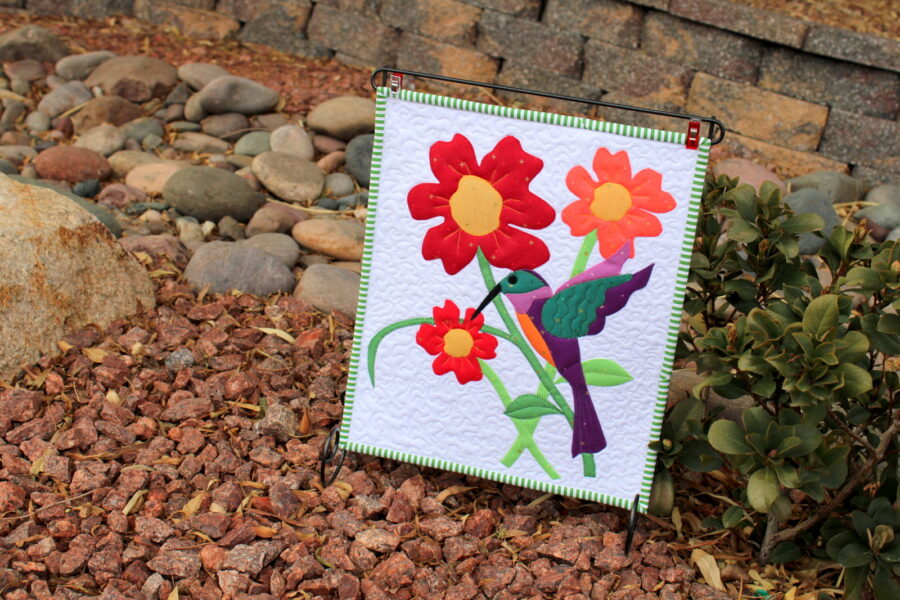
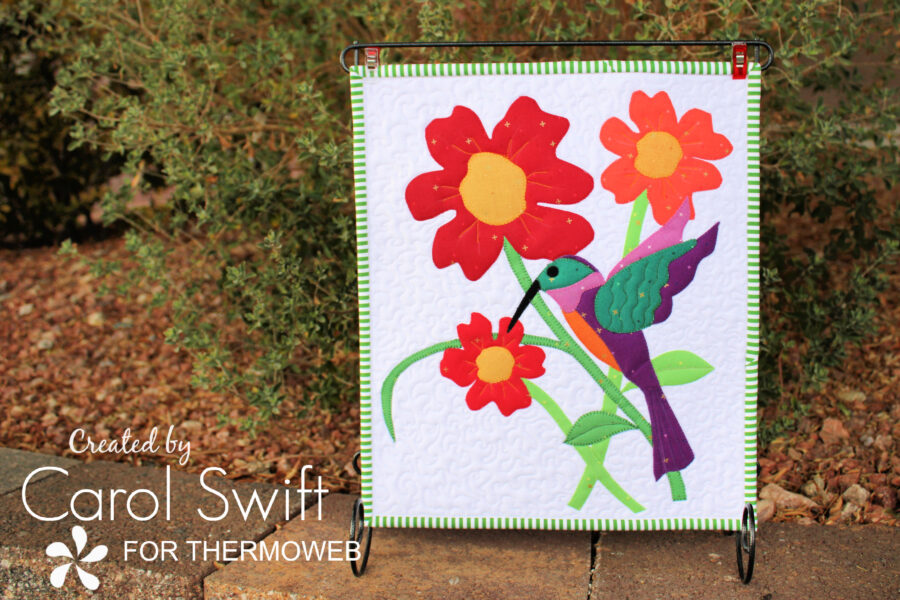
Spring Is Magical Mini Quilt

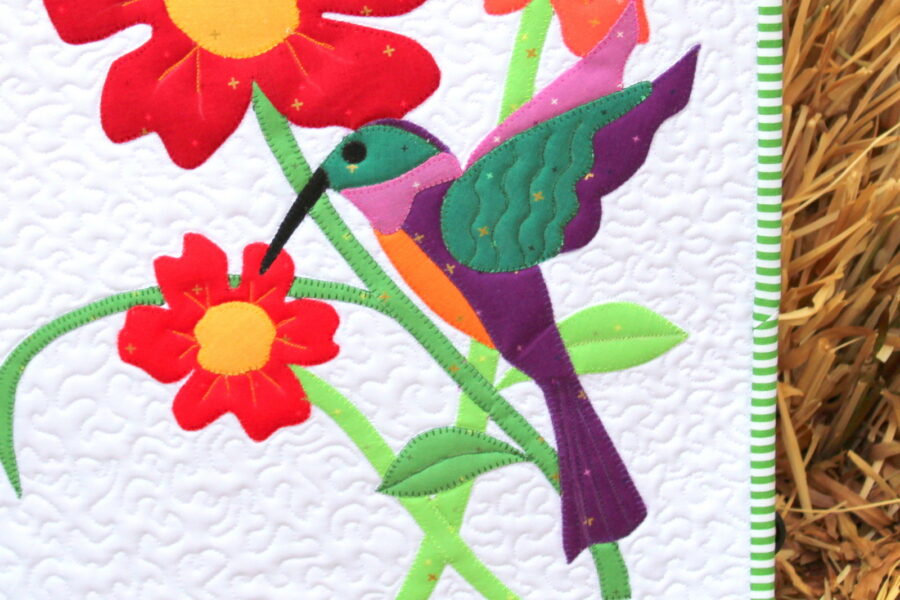
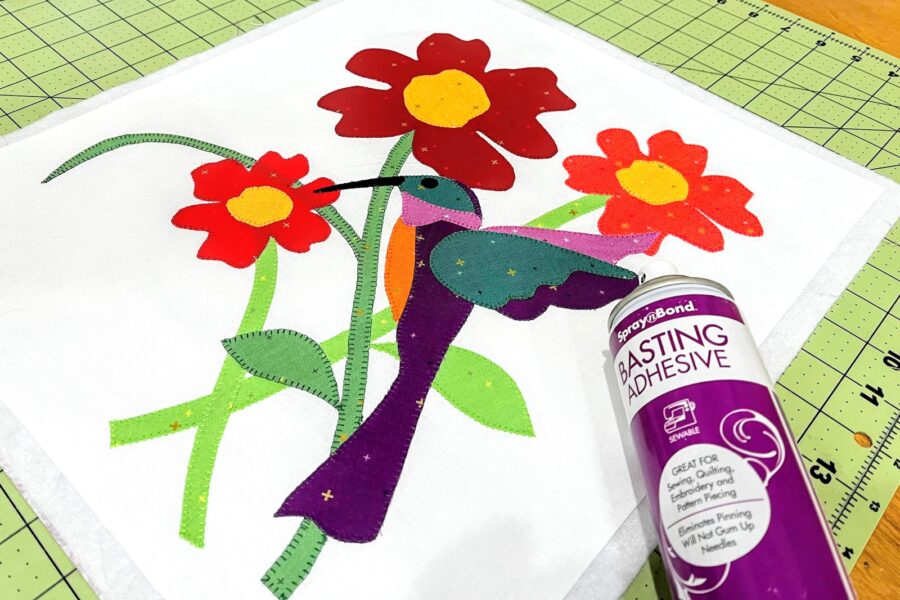
Enough of all the cold and snowy weather...bring on the spring sunshine! It's time for some warmth, flowers, and hummingbirds. This little mini quilt will surely add some cheer to the beginning of spring. check out ThermOWeb's blog for this and other fun spring projects!

Spring Is Magical
12" x 14" mini quilt


Did you know that hummingbirds symbolize lightness and joy, and are often thought of as magical beings that assist in a life's journey or deliver messages from loved ones who have passed? I think they are mostly brave and beautiful creatures that dash about with great speed and are meant to make us smile.


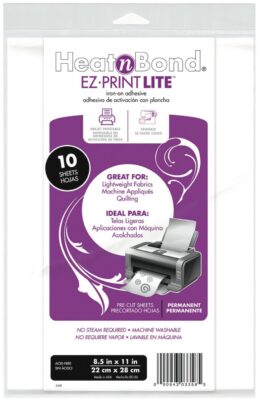
Heat n Bond Lite EZ Print Sheets makes copying your applique designs so easy. 
Just run the printable sheets through your inkjet printer...no tracing with a pencil!


Step 1: Trace applique designs on smooth side of Heat n Bond Lite Iron-on Adhesive or use Heat n Bond Lite EZ Print Sheets. Be sure to write the letter of piece on traced designs. Designs are reversed so they will be the correct direction when ironed on fabrics.

Step 2: Cut around traced applique designs leaving at least a quarter inch from solid line. Hint: Writing the desired fabric color on the paper applique piece can avoid confusion when ironing to fabric. Iron applique designs (rough side down) to wrong side of fabrics following package directions. Let cool.


Step 3: Follow package directions, iron Heat n Bond Light Weight Non-Woven Interfacing to wrong side of 13 ½” x 15 ½” fabric rectangle. *Applique Tip: Ironing lightweight interfacing to the wrong side of fabric used in applique blocks can add stability and make stitching small pieces easier.


Step 4: Cut out applique pieces on solid lines. Peel off paper liner from the backs of applique pieces. Follow design keys for correct placement. Place applique, adhesive side down, on right side of fabric. Press according to package directions until entire piece is bonded. Let cool.

Step 5: Sew around edges using a straight, zig-zag, or blanket stitch.


Step 6: Assemble mini quilt - Protect the area where you will be working by placing an old sheet or paper under and around the area you’ll be spraying. Place the fleece on work area, smoothing to remove wrinkles. Place the wall hanging front, wrong side down, on top of fleece. Smooth to remove wrinkles.


Roll back three or four inches of the front to expose some of the fleece and the wrong side of the quilt front. Using the Spray n Bond Basting Adhesive, lightly spray fleece from one edge to the other. Carefully roll the front over the fleece. Smooth fabric to ensure it adheres to the sprayed fleece and remove any wrinkles. Continue spraying and smoothing a few inches at a time. Check for creases or folds you might have missed. Repeat process with quilt back. Let dry.


Step 7: Quilt the front wall hanging and fleece using your favorite quilting method. Add any decorative stitches using hand or machine embroidery/stitching.


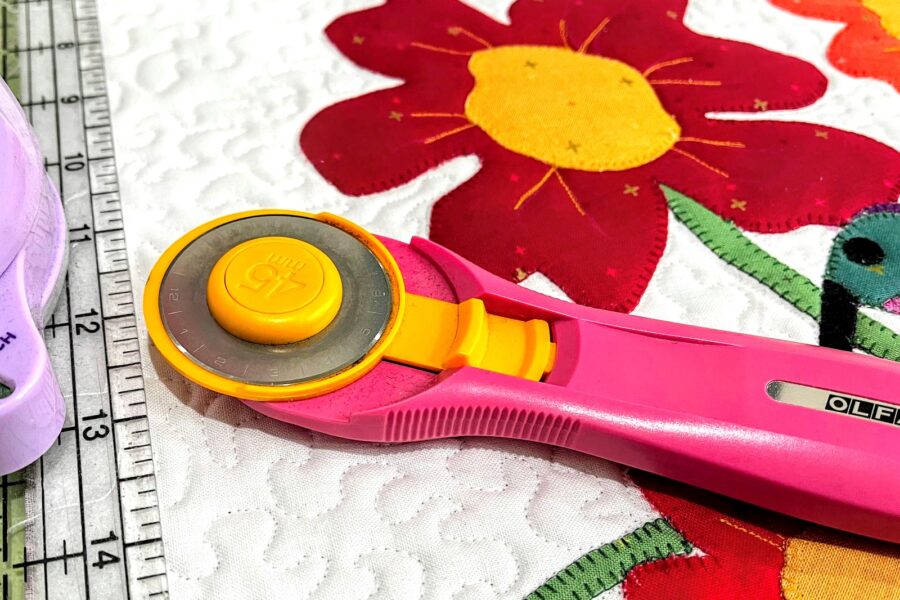
Step 8: Trim quilt to 12 ½” x 14 ½”.


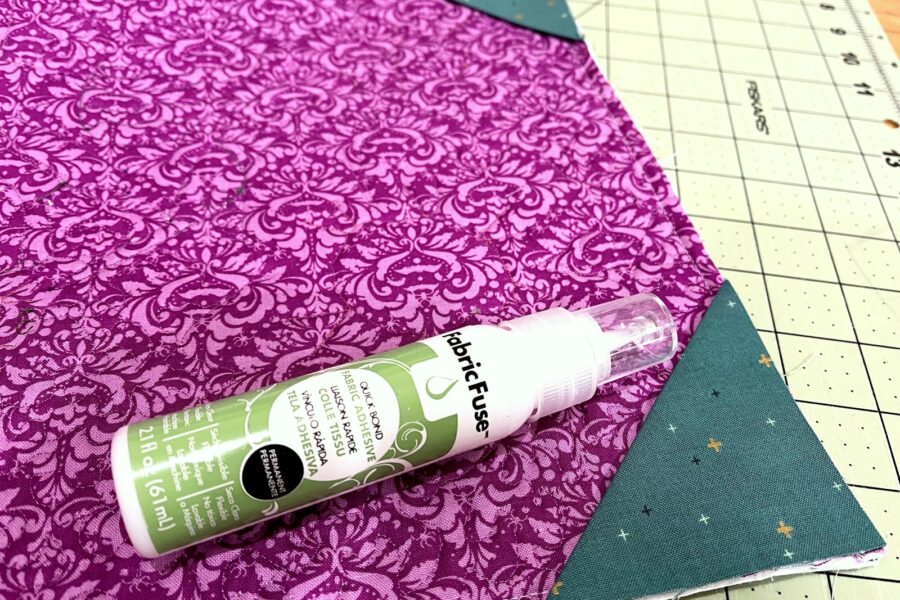
Optional: Add dowel hanger - Create corner pockets on the back using two 3½” x 3½” squares of fabric. Lightly spray baste squares. Fold the squares in half diagonally and press on fold. Place raw edges of folded corners in top corners of wall hanging back. Use iCraft Liquid Fabric Fuse along raw edges to glue in place; let dry.


Add binding using your favorite method. Place dowel between the two corners. The dowel hangs easily on a nail on a wall or use clips to attach to a hanger.


This little mini is quick, easy, and adds just the right touch of spring to your home. You can find the "Spring Is Magical" pattern HERE.


Dresden Carnival In Rikstacket

C heck out the Summer 2026 R IKSTACKET quilt magazine that my friend, Britt-Inger, sent me  from Sweden. It was such a pleasure and an hono...